

The Guardian of the Bell
My process of painting the Bell Gargoyle from Dark Souls The Board Game

After painting my very first miniature from the Dark Souls board game. The model turned out lovely and I was ready for another challenge. This time, I chose to paint, in my opinion, an even more detailed miniature, with some new challenges.
The Bell Gargoyle. A beautiful creature, a protector, and a deadly encounter. That is my daunting task for this paint job.
Painting the Bell Gargoyle
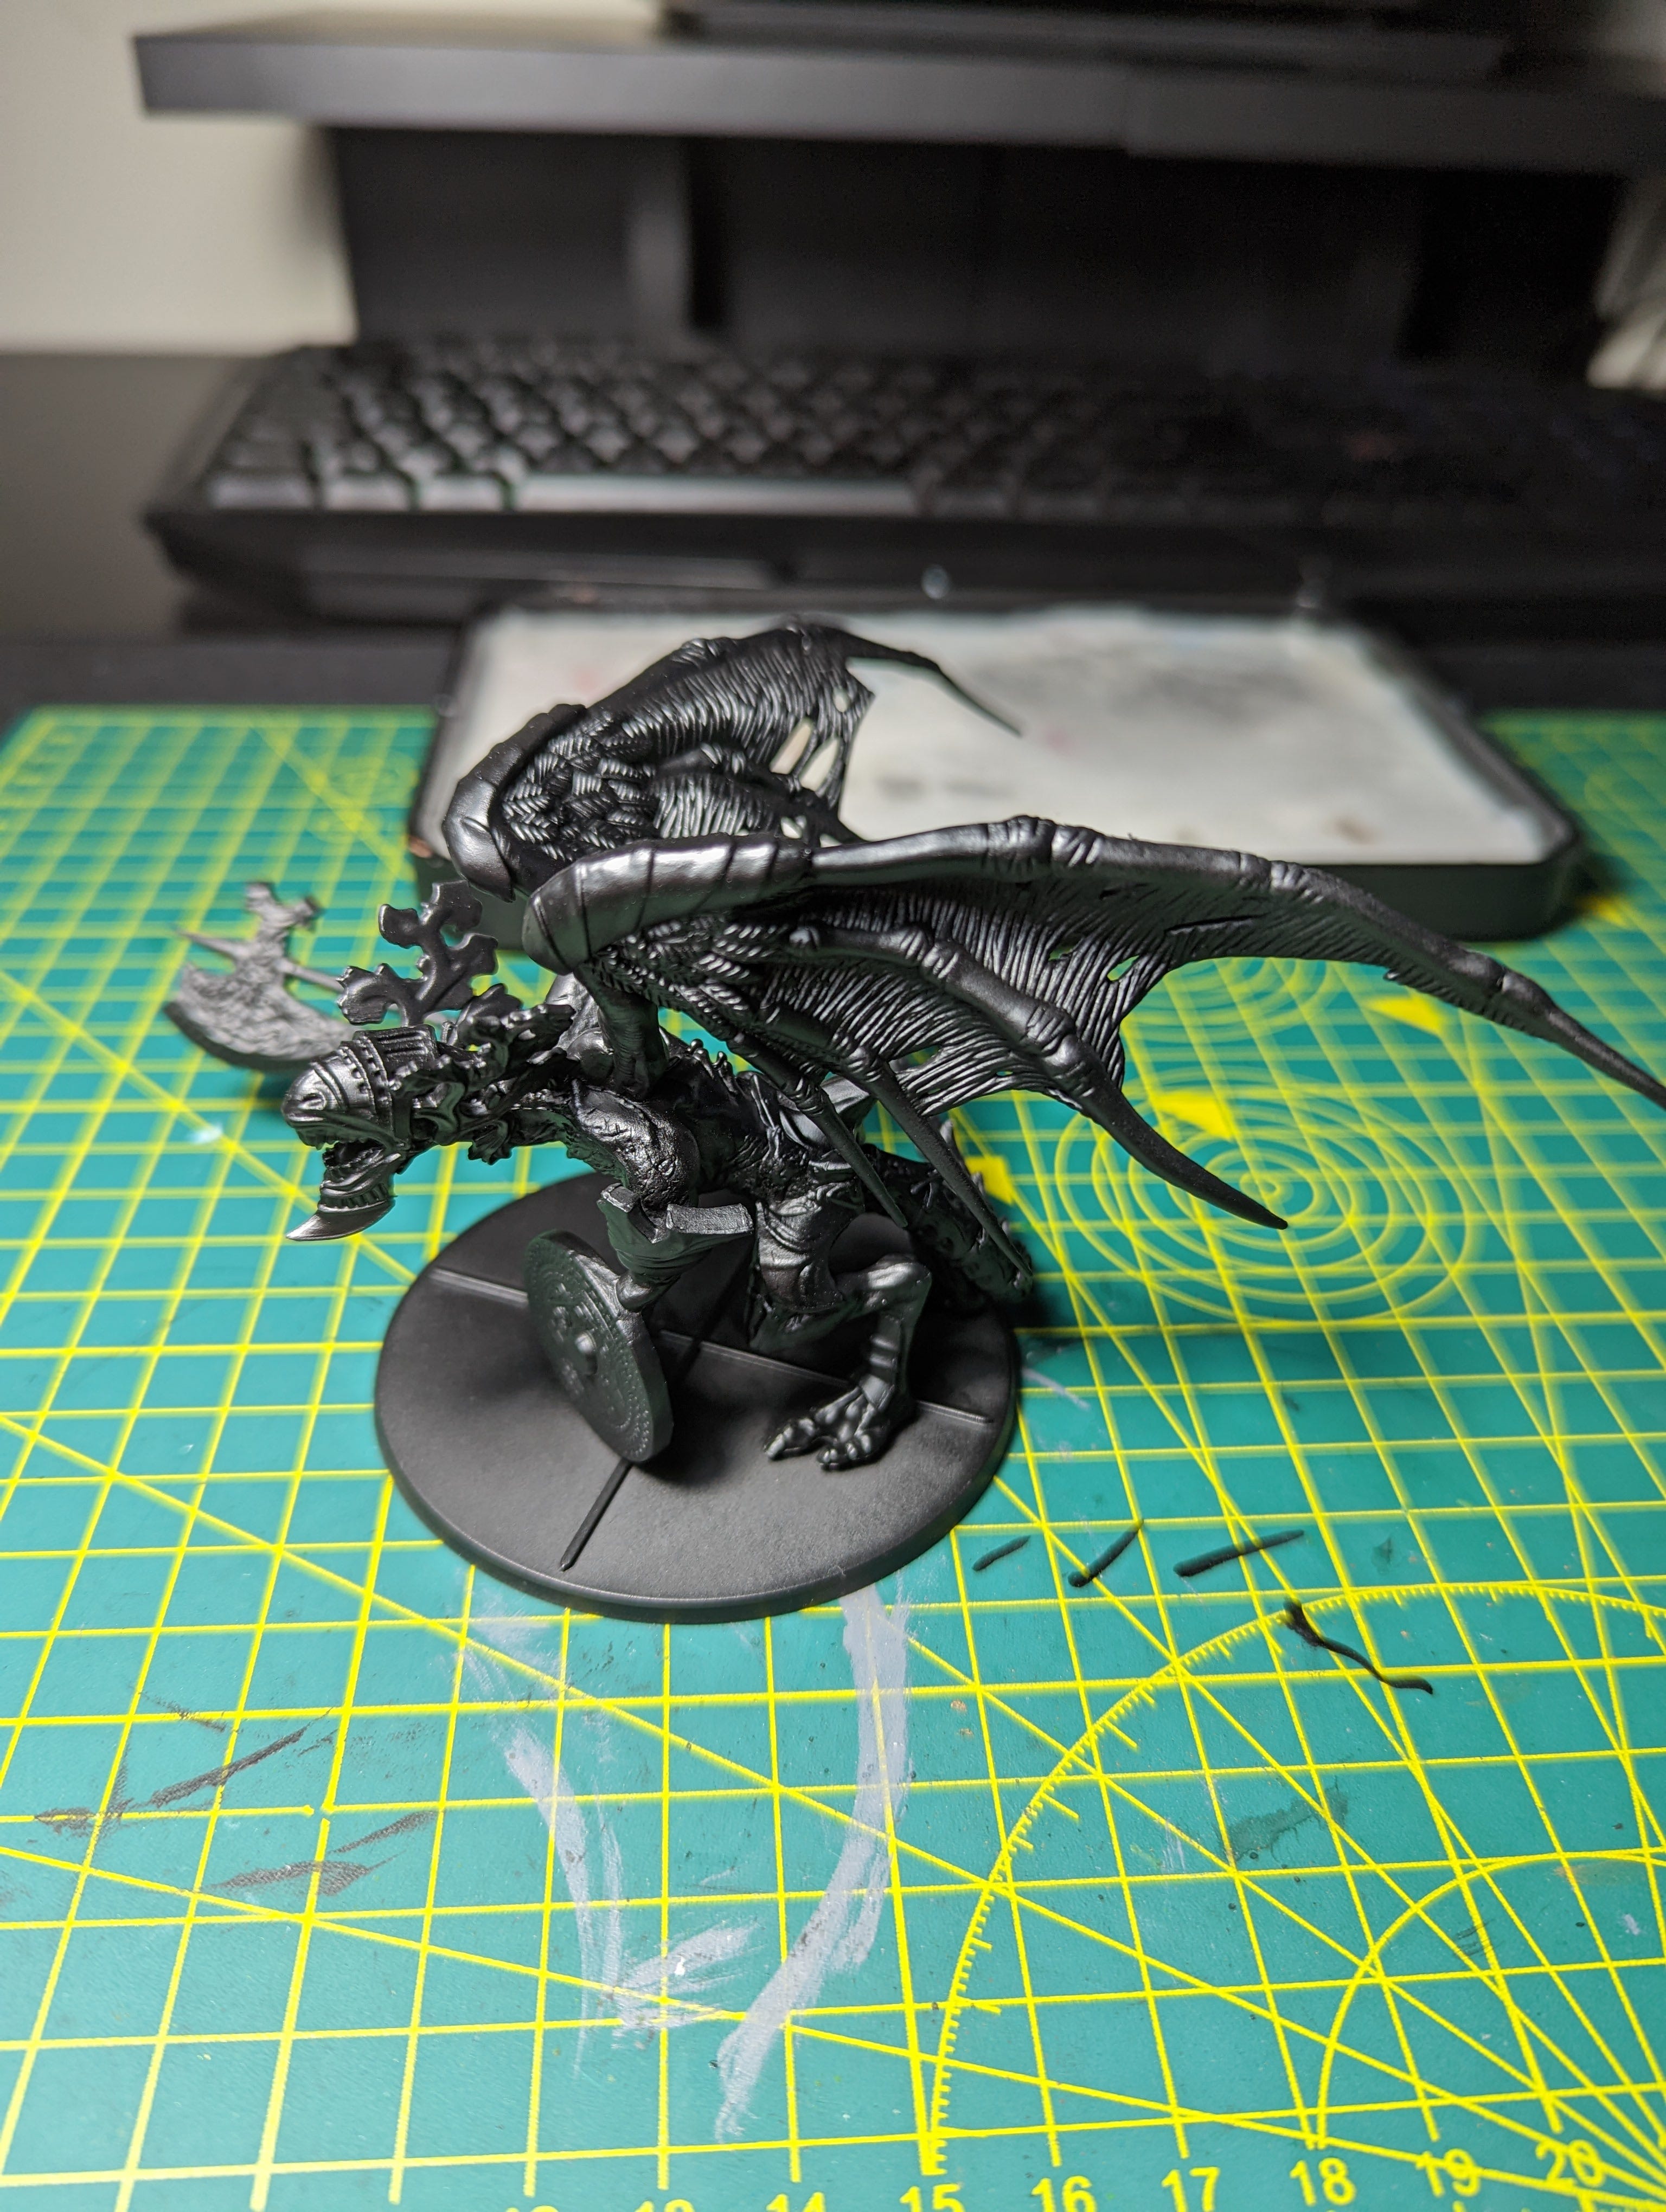
After priming the model, I began base coating the largest portion of the figurine, its body. For the base coat, I used three different shades of brown, for three distinct parts of the gargoyle’s body. For the main body I used my darkest shade of brown paint, the feathers were a lighter, more leathery brown colour, while the wings I ended up fainting my lightest shade of brown, to better encapsulate the “fleshiness” of its large wings.
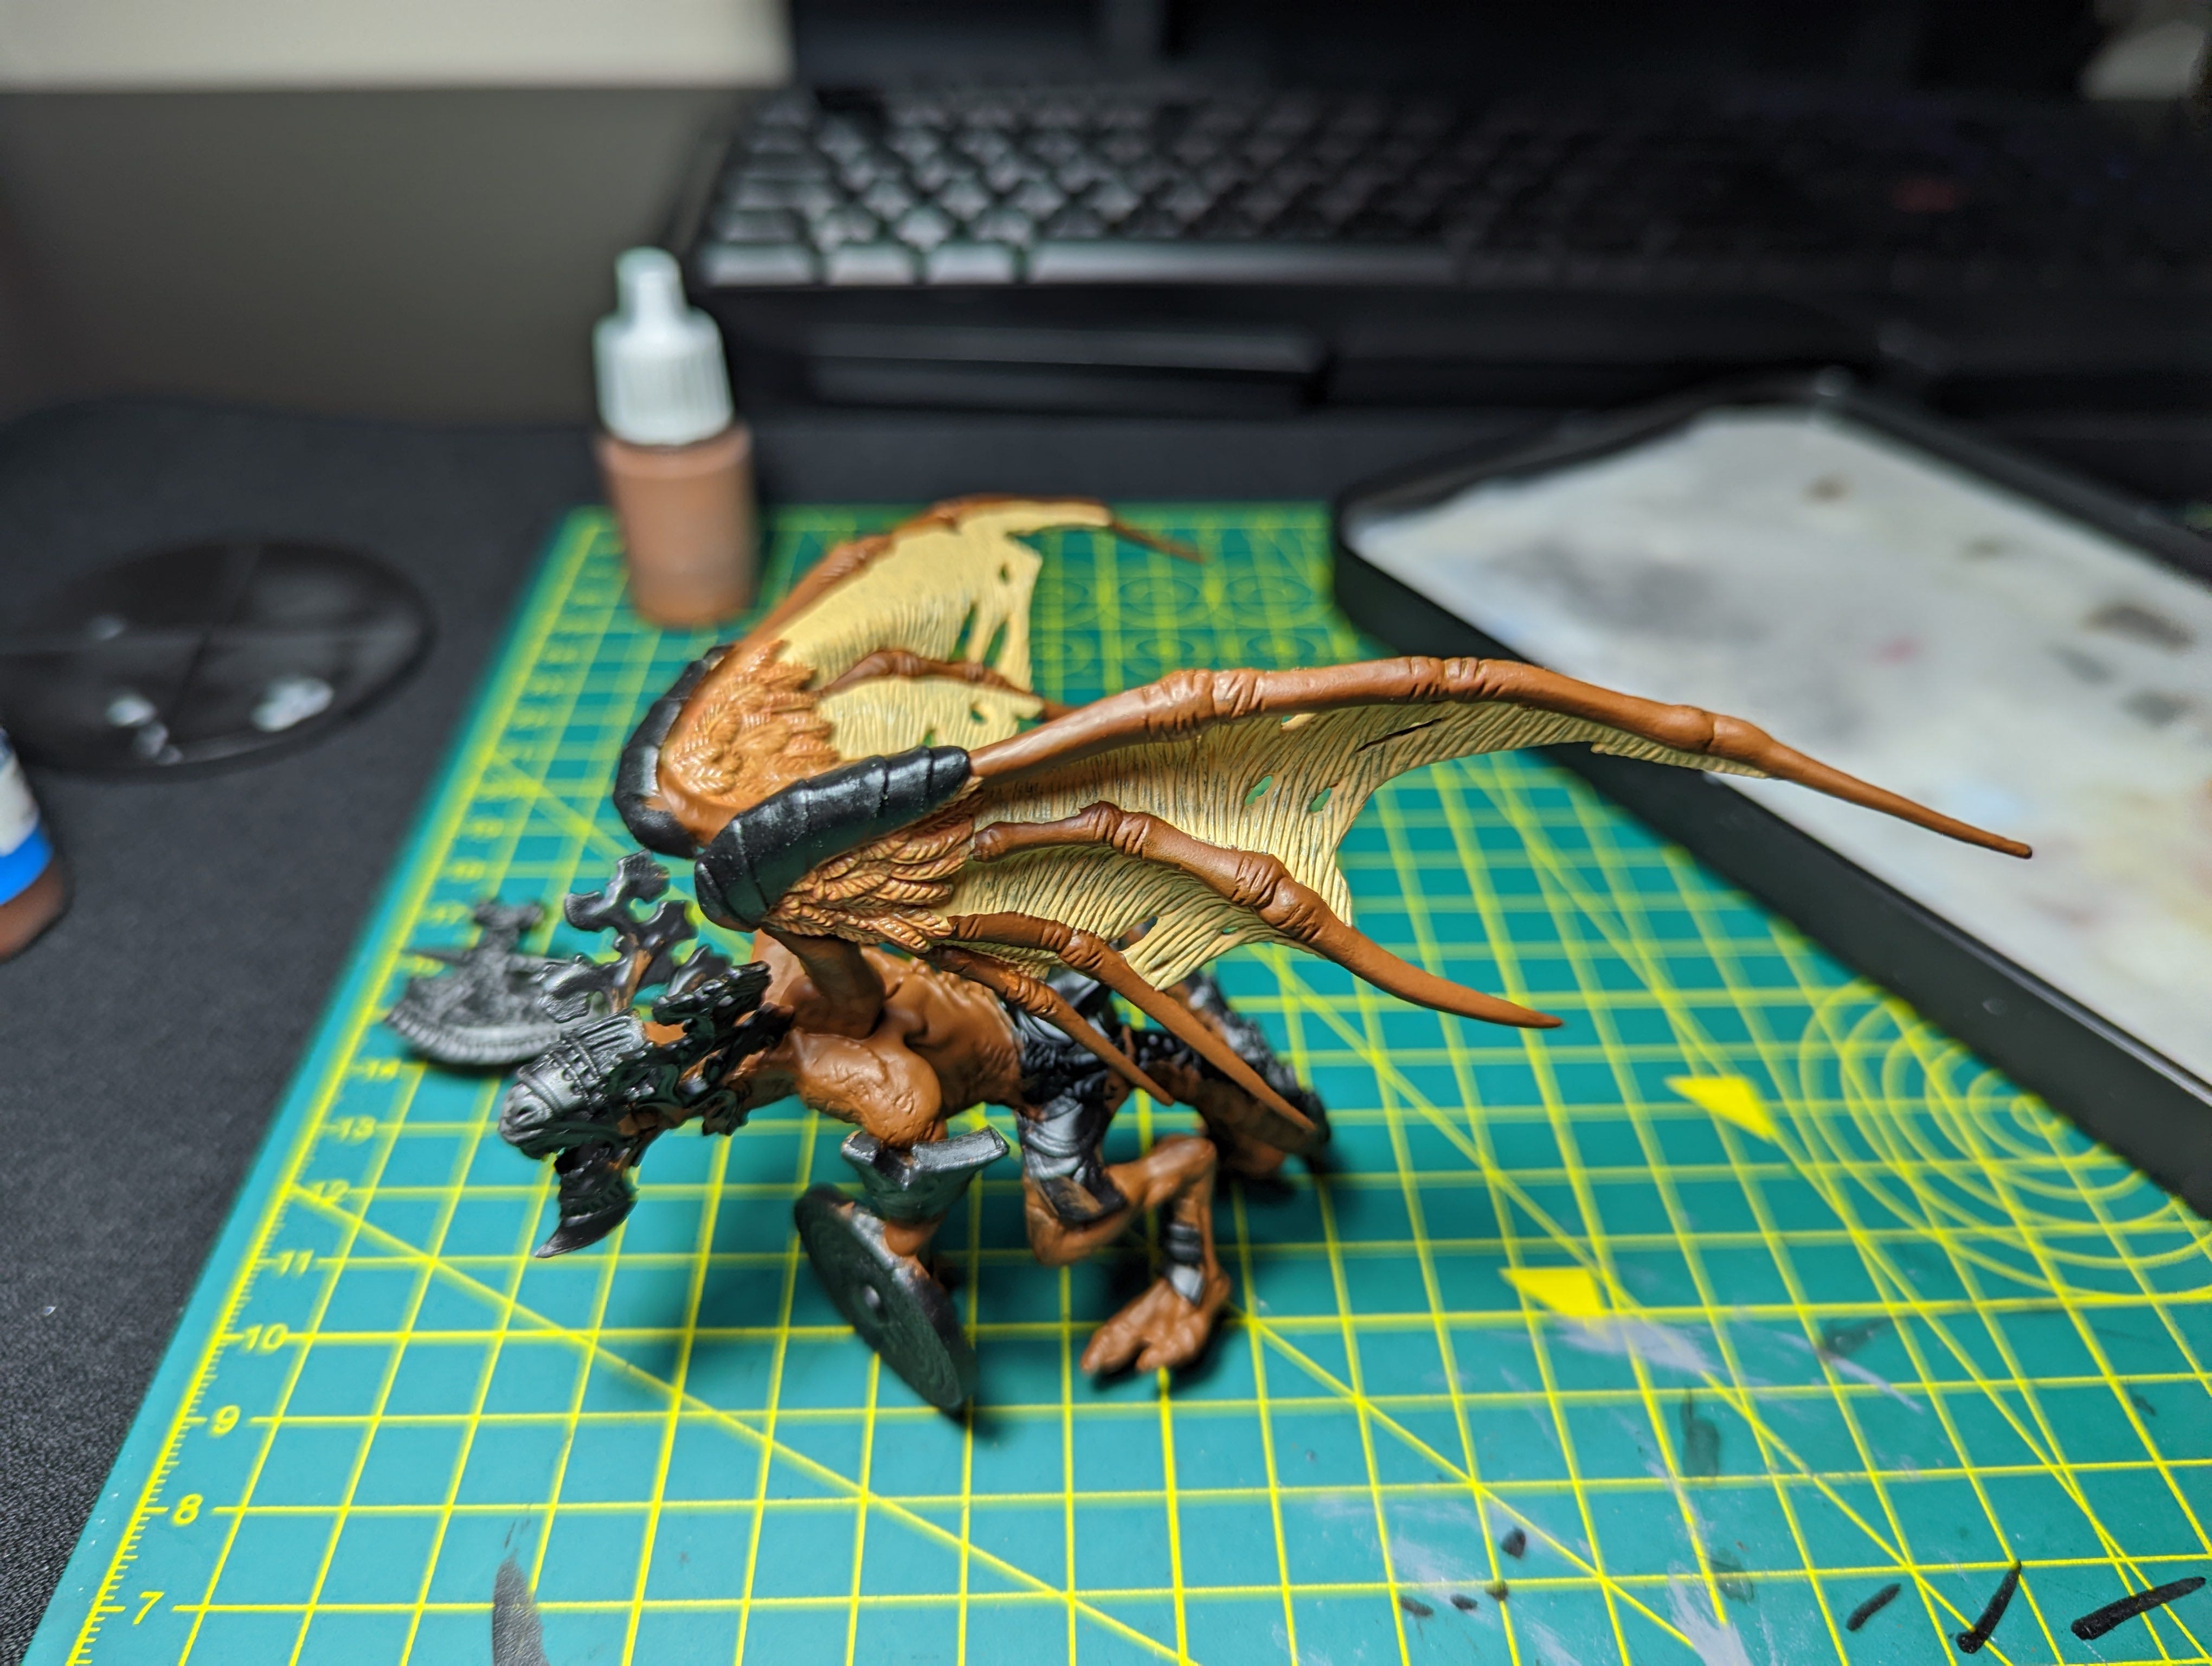
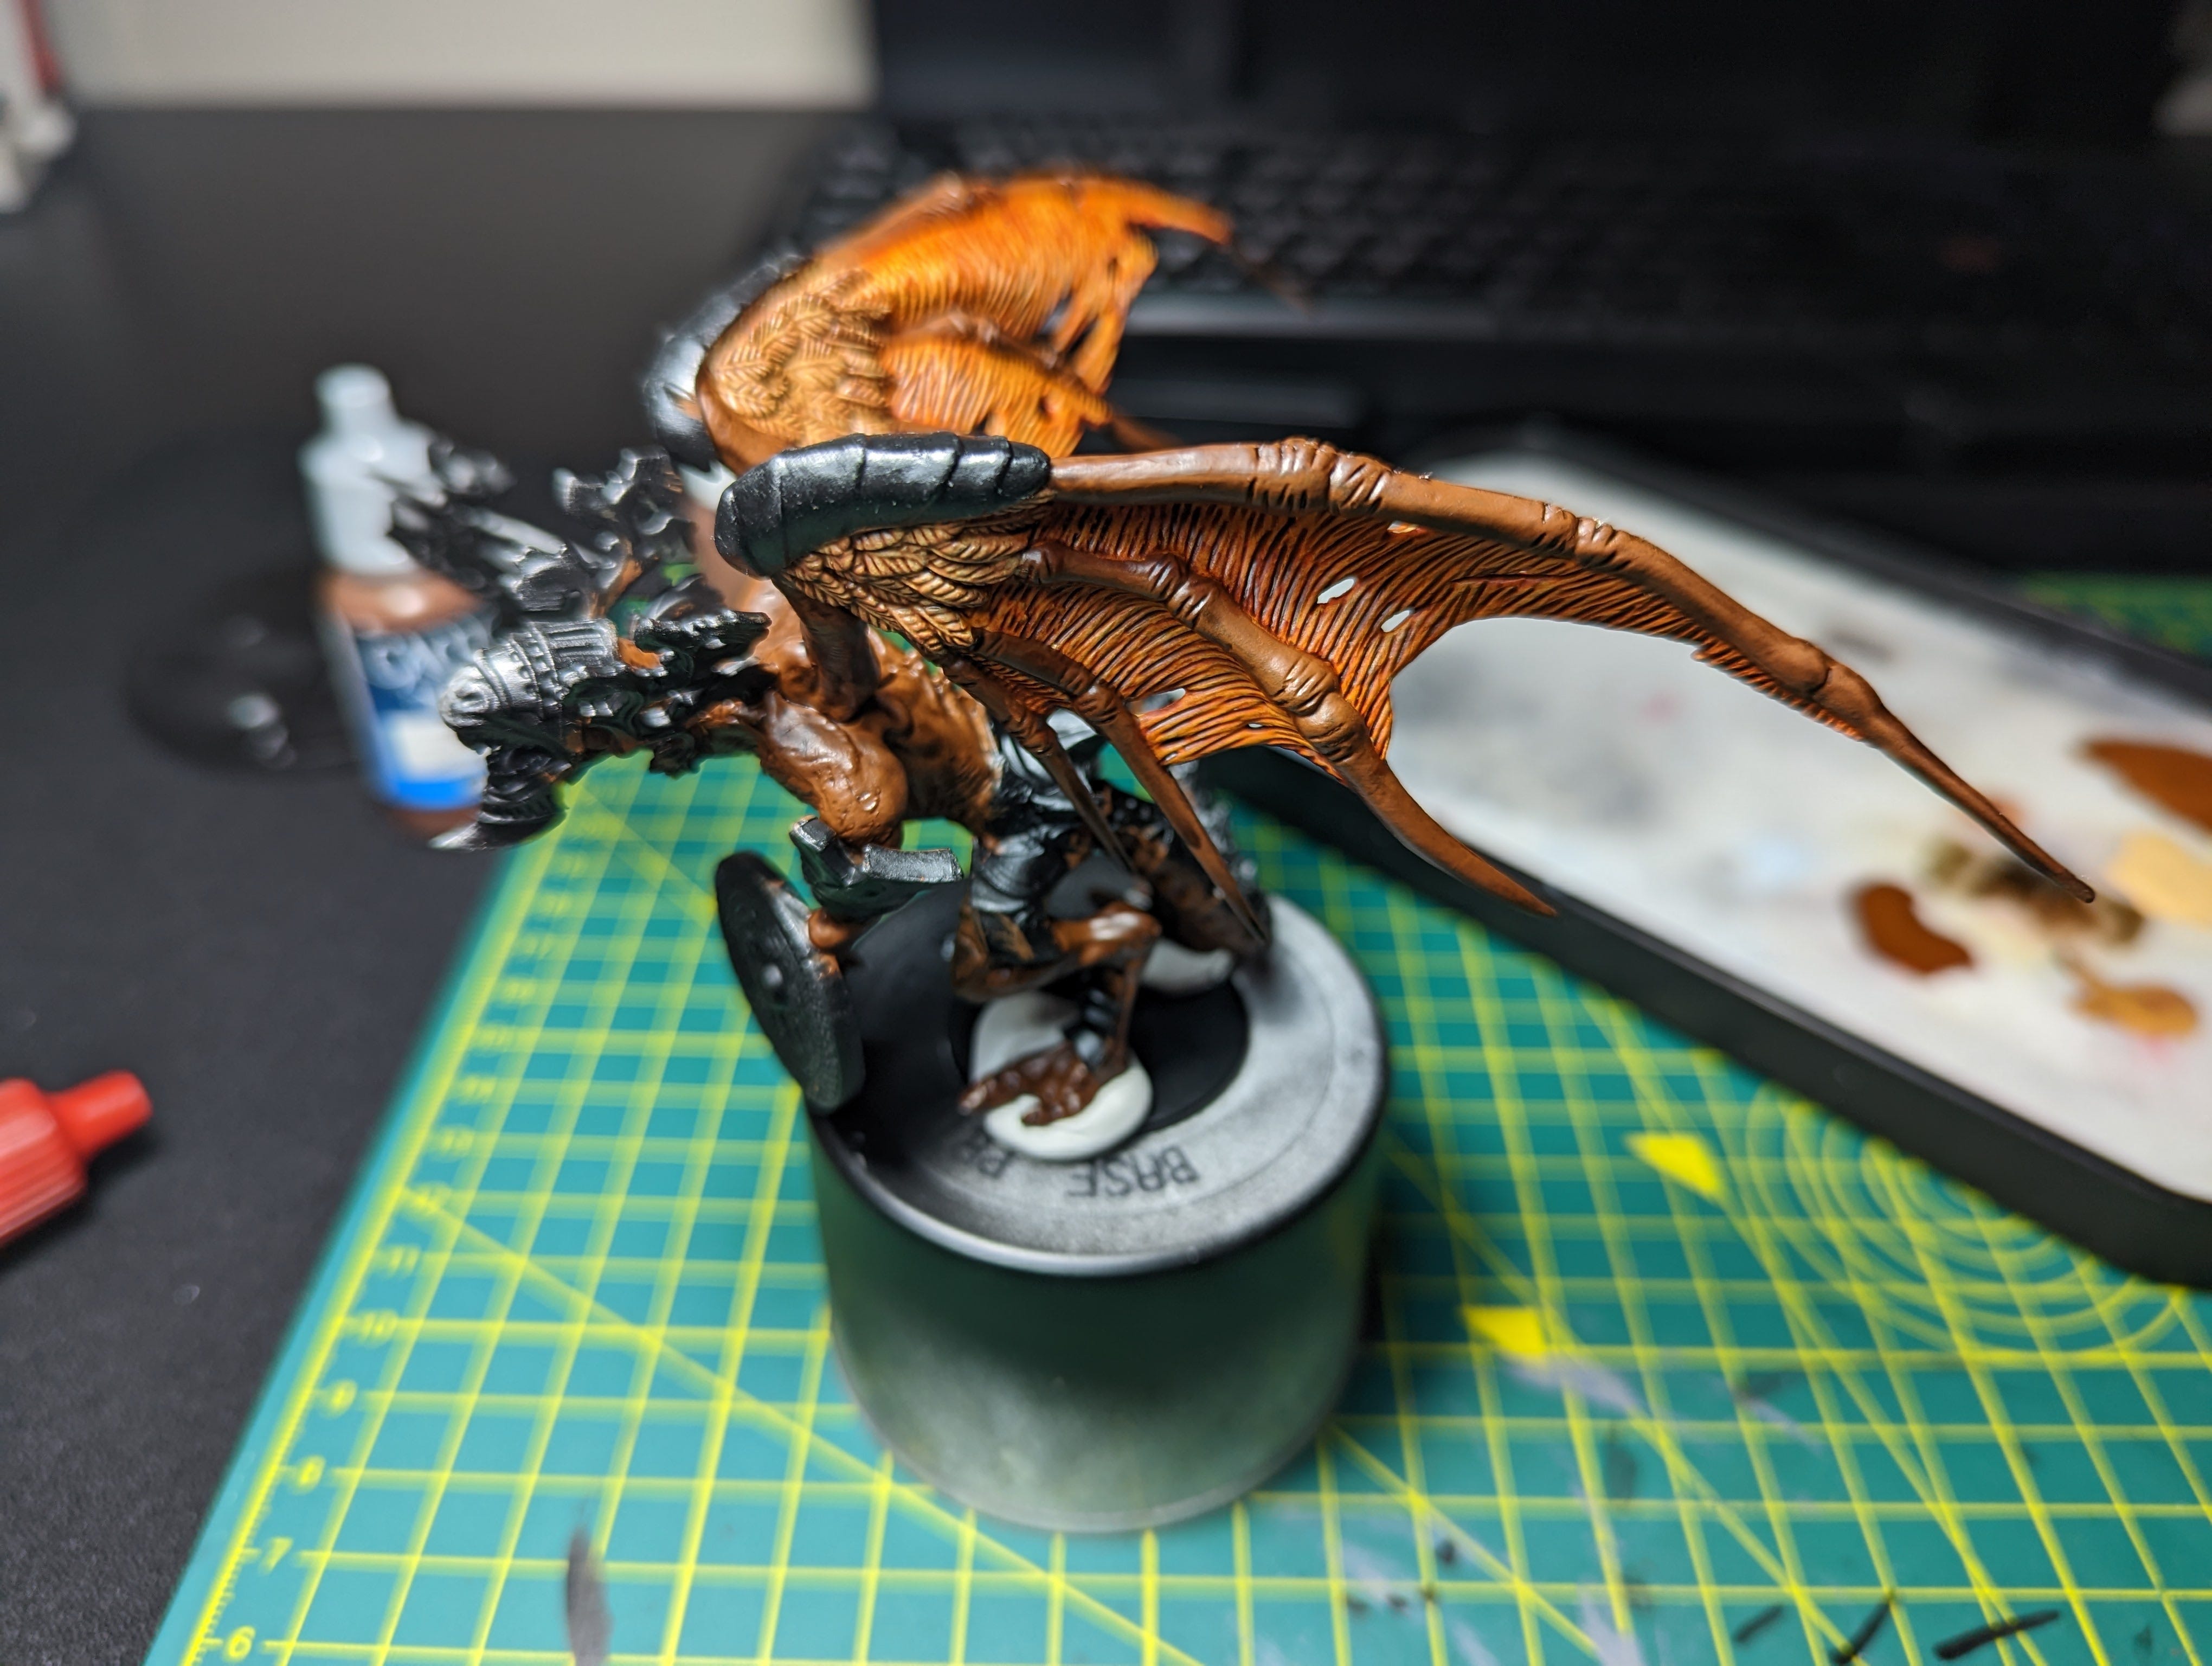
Once the base coating was complete I gave the model some shading using different washes. Once again I used a darker brown wash to enhance the shadows on the body and the feathers. However, for the wing, I went with a fleshier wash that I had, specifically “Skin Wash” from the Vallejo Inks line. These washes already made the details on the miniature pop, and it looked fantastic.
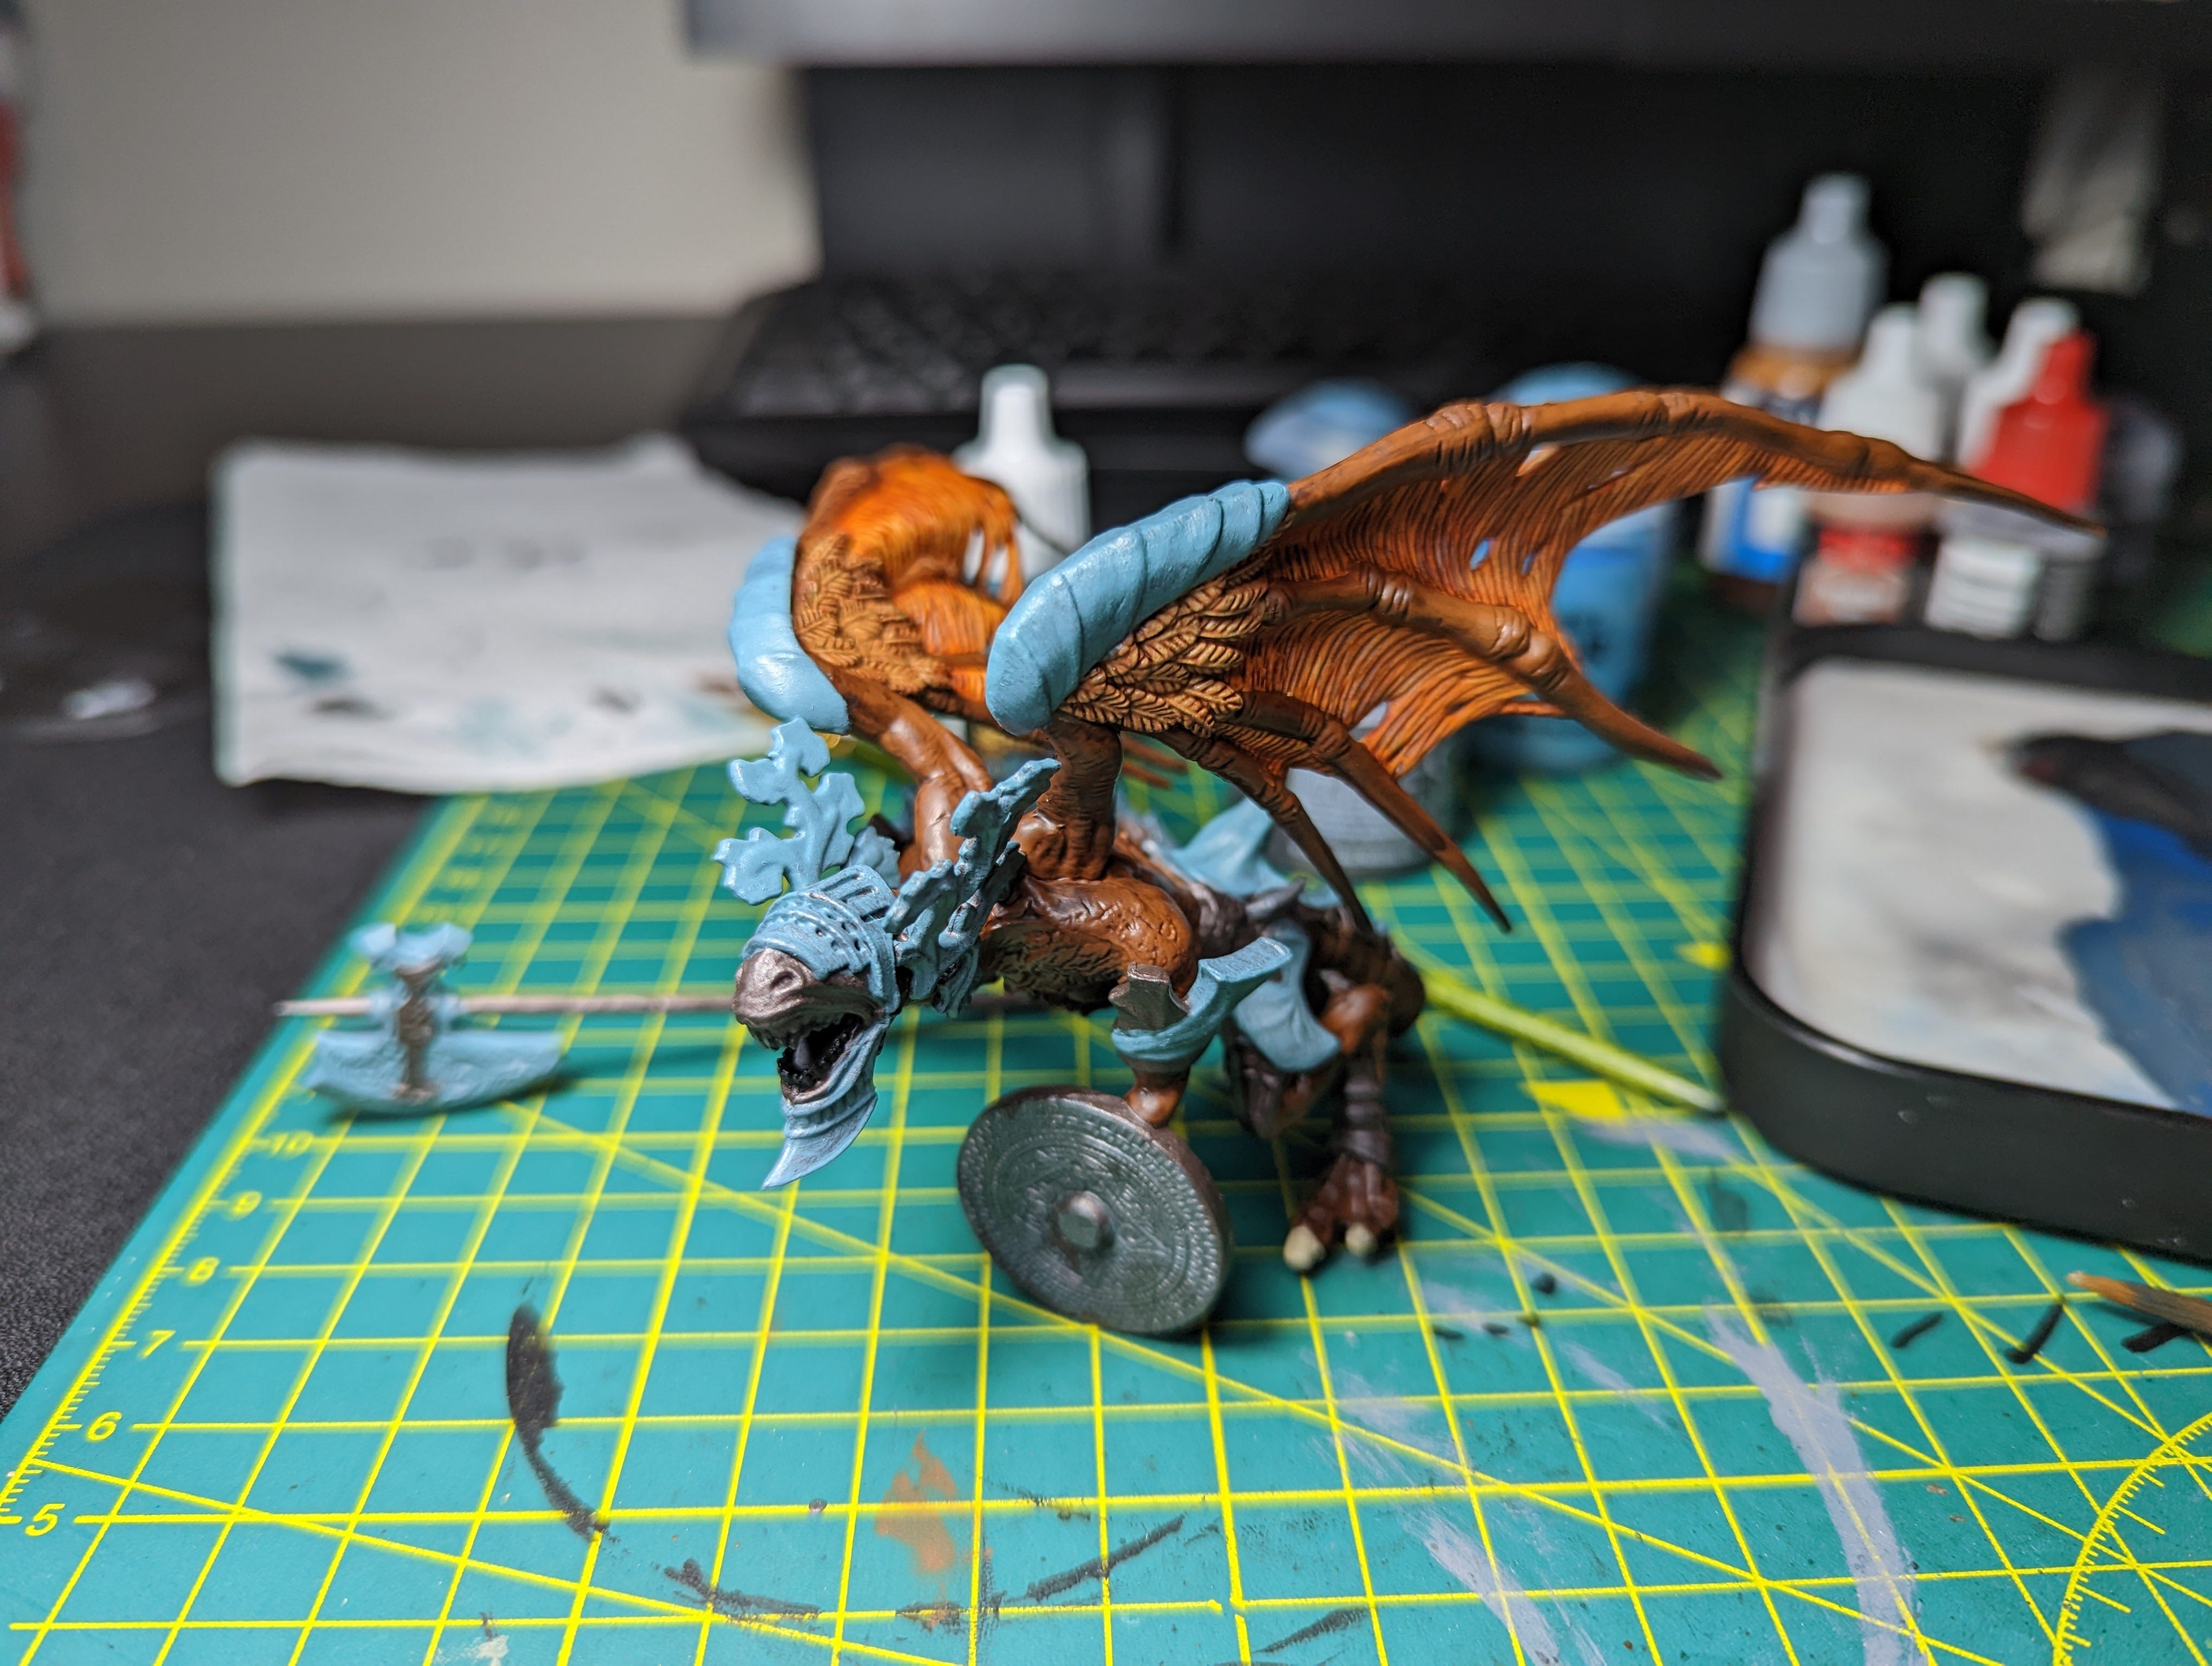
Now on to the metals.
Just like last time, with the Dancer, I began base coating the metals with a mix of different metallics and some lighter non-metallic colours until I was happy with how it turned out. During this process, I lost count of how many times did I paint over the previous layers, or even what the ratio of the mixed paints was. All I can say for certain, the paints I mixed were “Thunderhawk Blue” and “Iron Warriors” by Games Workshop. Even though the colour that I managed to create was not perfect, it still turned out rather nice.
Once the metals were base coated as well, I moved on to some highlighting.
Highlighting was something that I always tried, but never managed to properly accomplish, leading to me giving up halfway through. But not this time! This time I put a lot of effort into learning how to properly highlight a miniature model. I began by highlighting the edges of the armour in the places I felt needed to pull the attention of the viewer. Those highlights ended up looking nice, and I was really happy with myself.
Once the armour was complete, I gave the same treatment to the feathers, giving them a light highlight to make them stand out even more.
Once all the highlighting was done, I finished the job on the model, by giving more details to the shield and the halbert that were being used by the Gargoyle. To enhance those weapons, I mixed a few different metallics, from bronze to iron to give them a more weathered look.

And this put a finish on the Bell Gargoyle, however, I was not done yet.
Making the base
For this project, I wanted to put even more effort into making a great base, and for it, I decided to recreate the battlefield where you face this creature in-game. And that would be a rooftop.
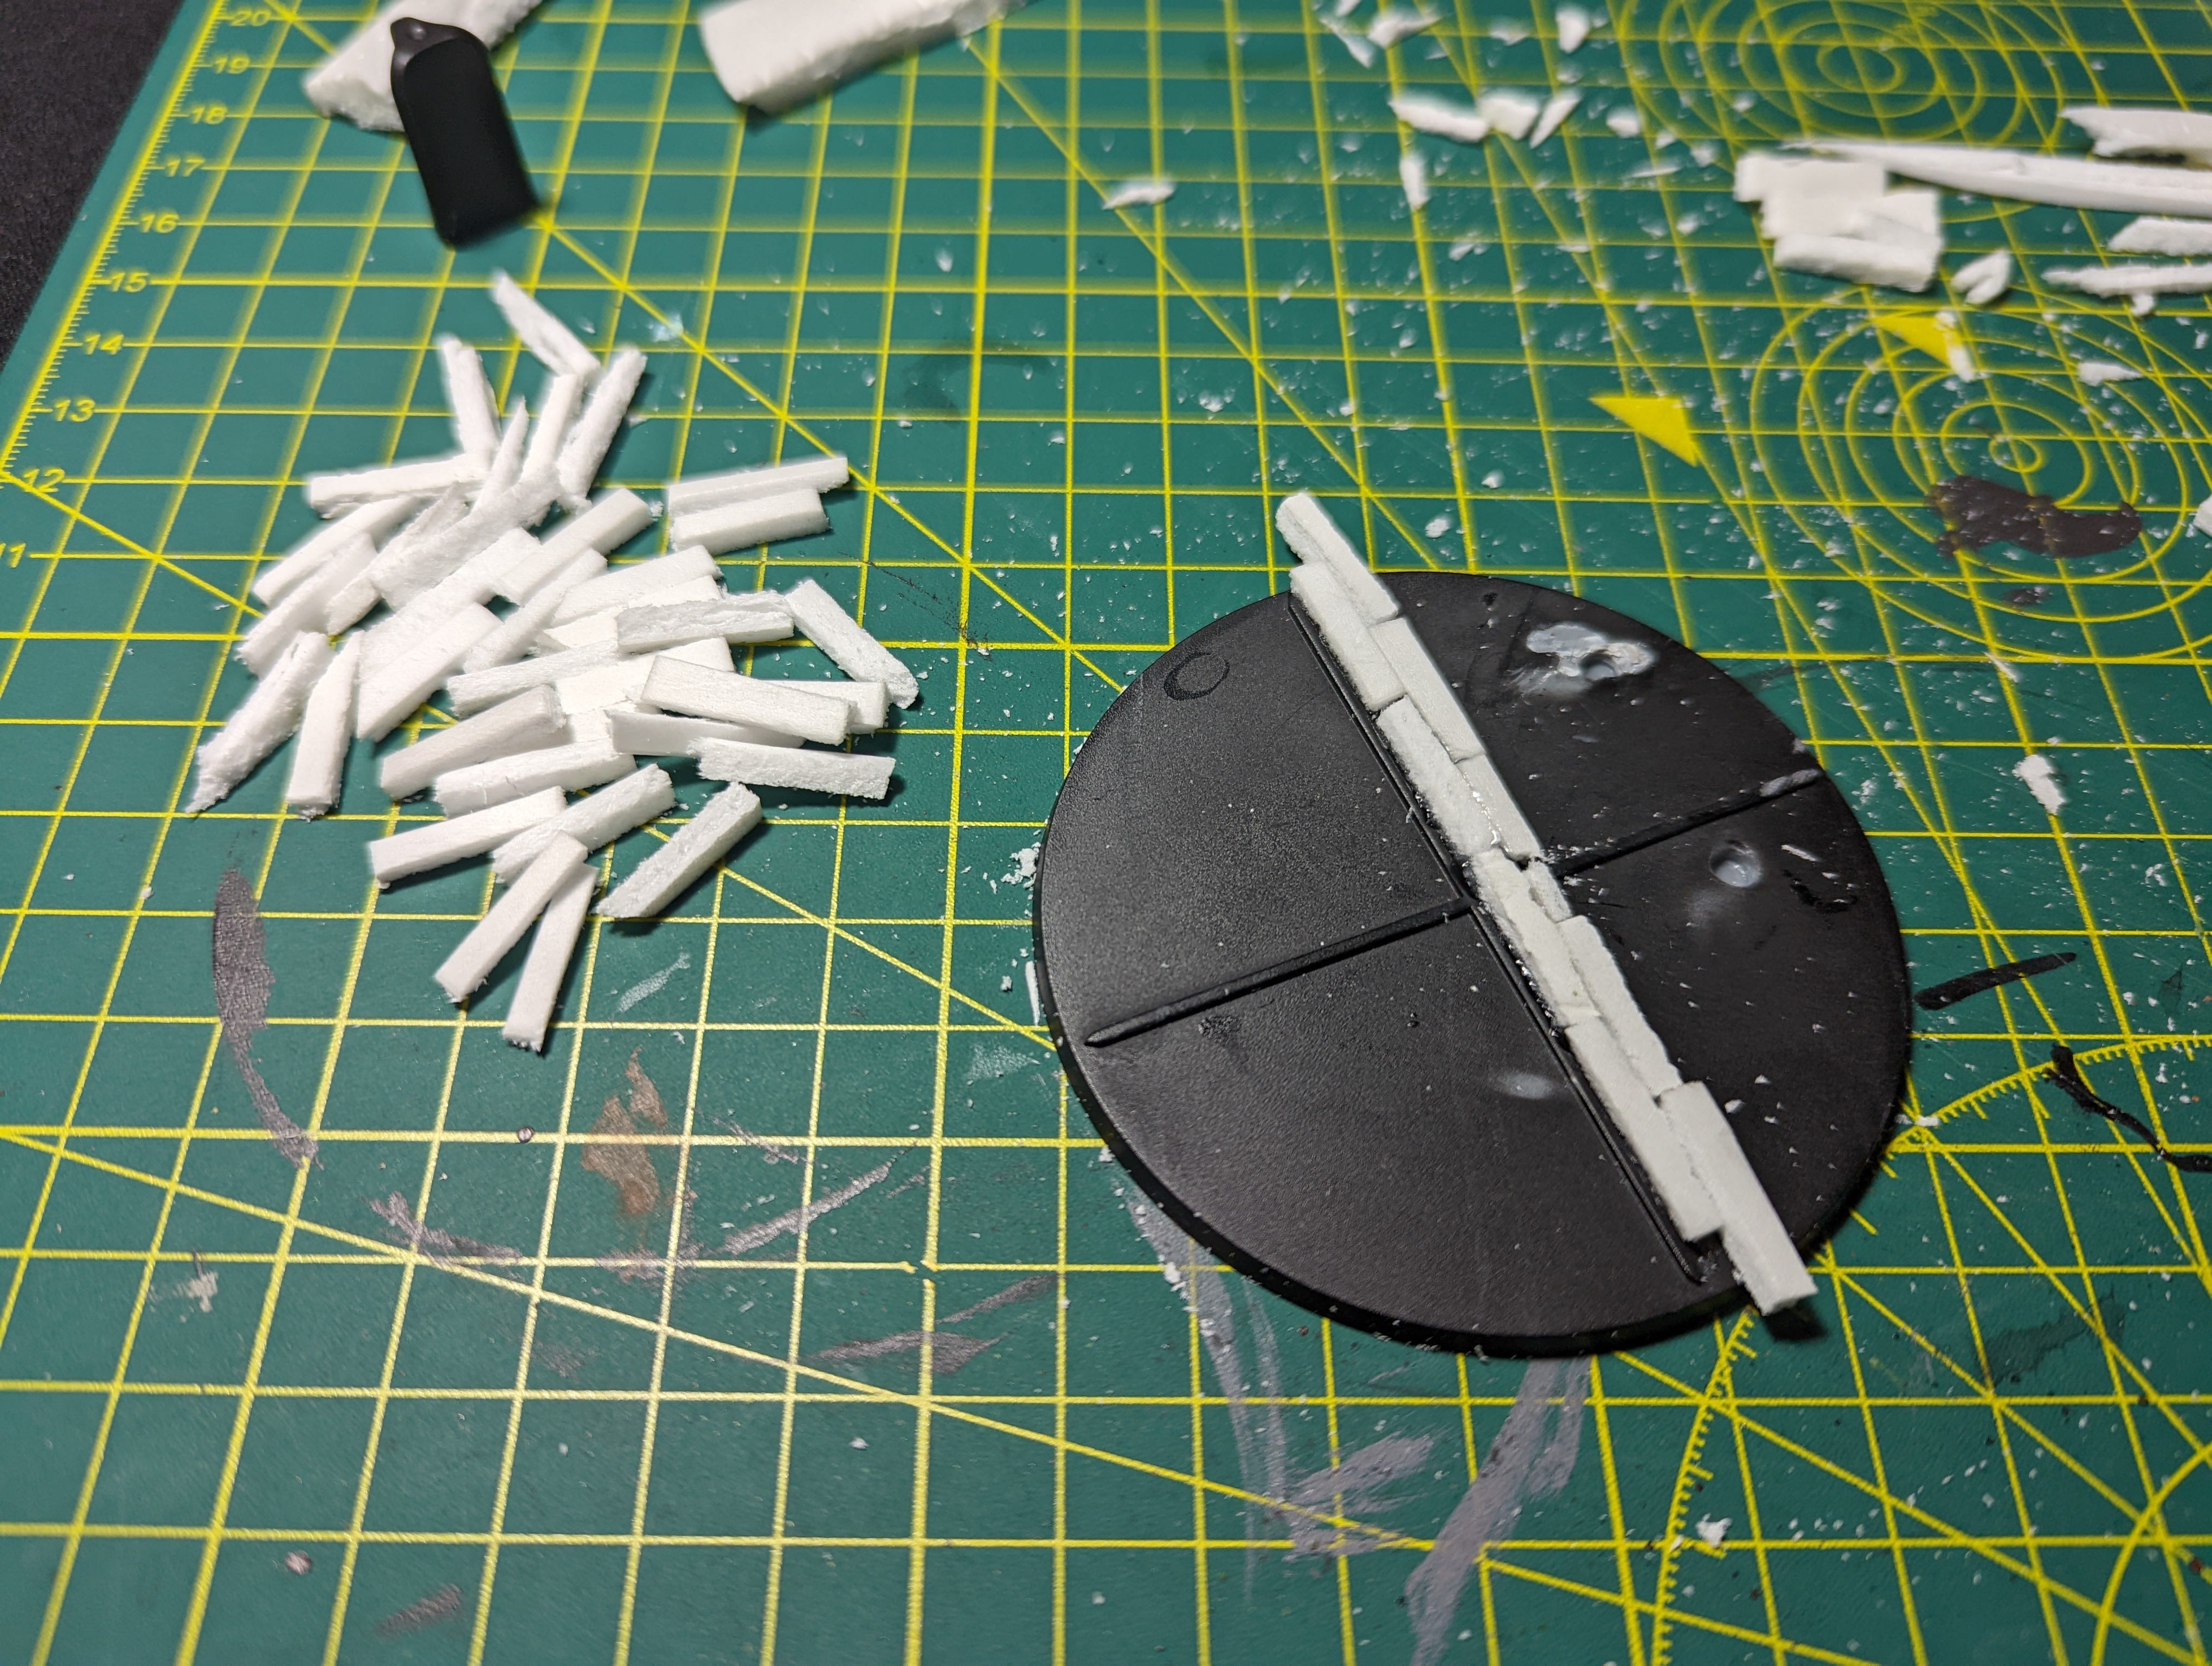
To create this base I went into my local hardware store and picked up some foam used for construction. After cutting it into little pieces to resemble wooden planks, I glued them onto the base using super glue giving me a base that looked like this.
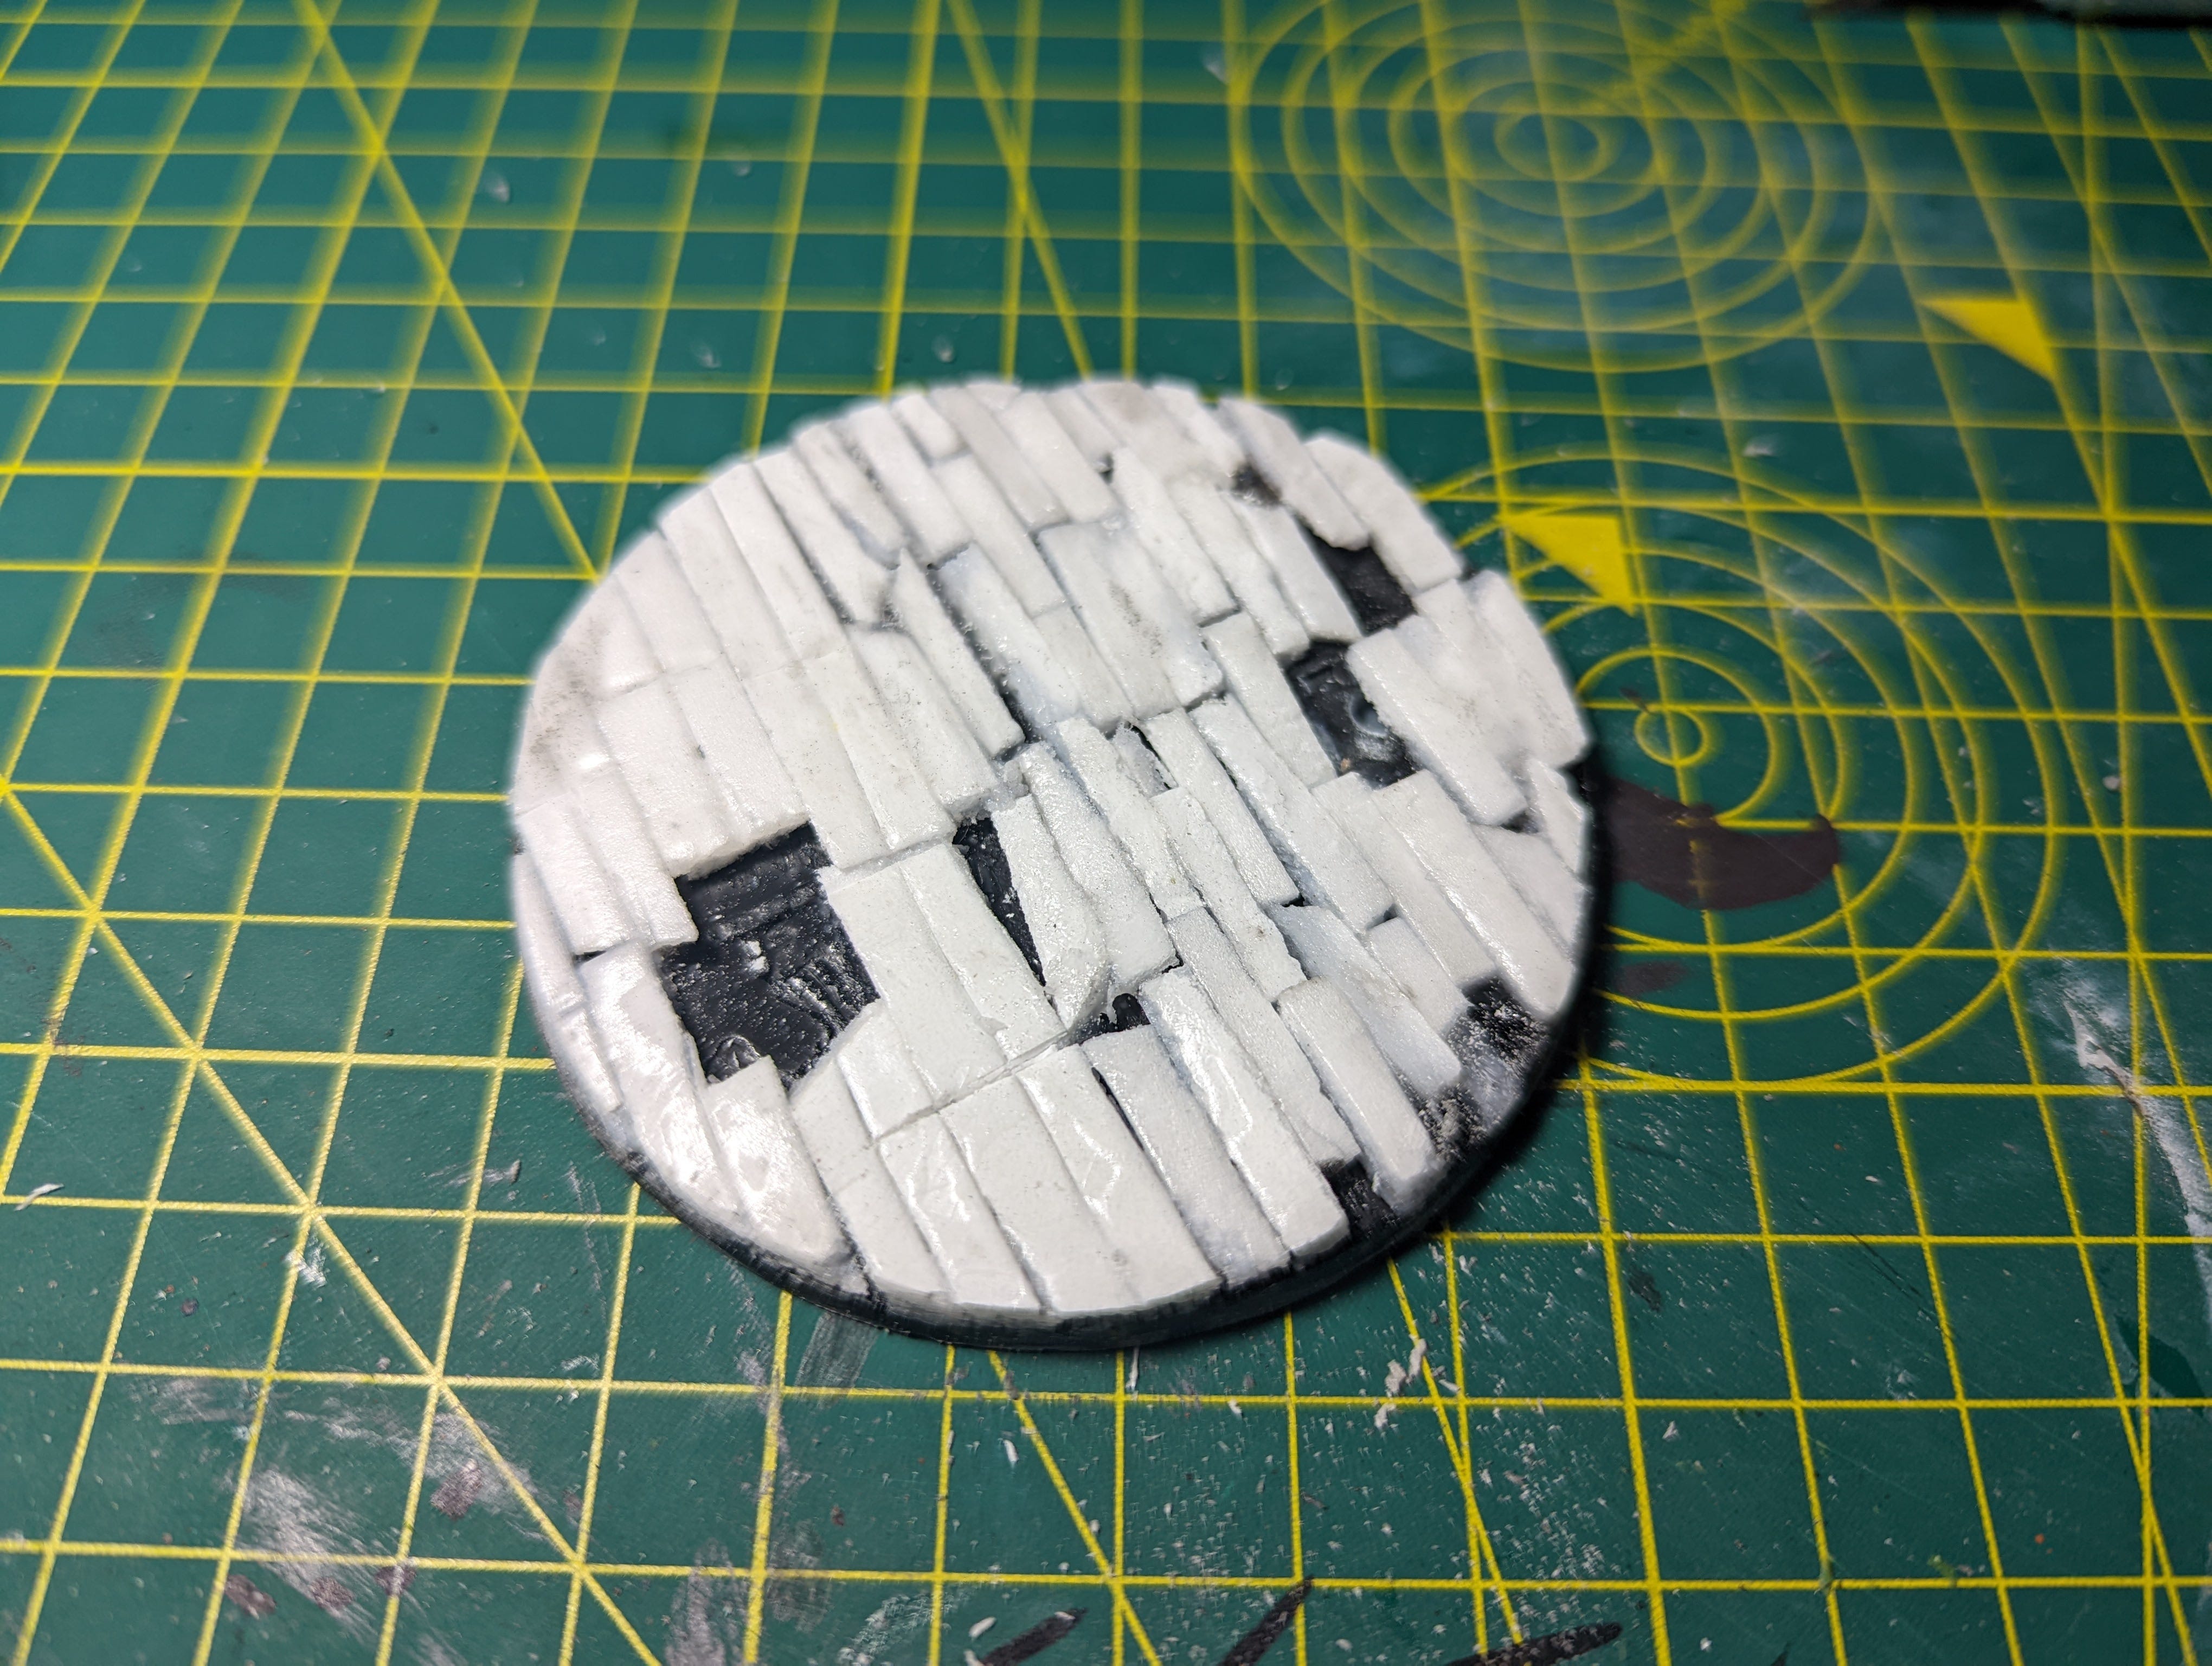
I purposefully left some empty parts to convey the look, that this is an old roof with some cracks in it.
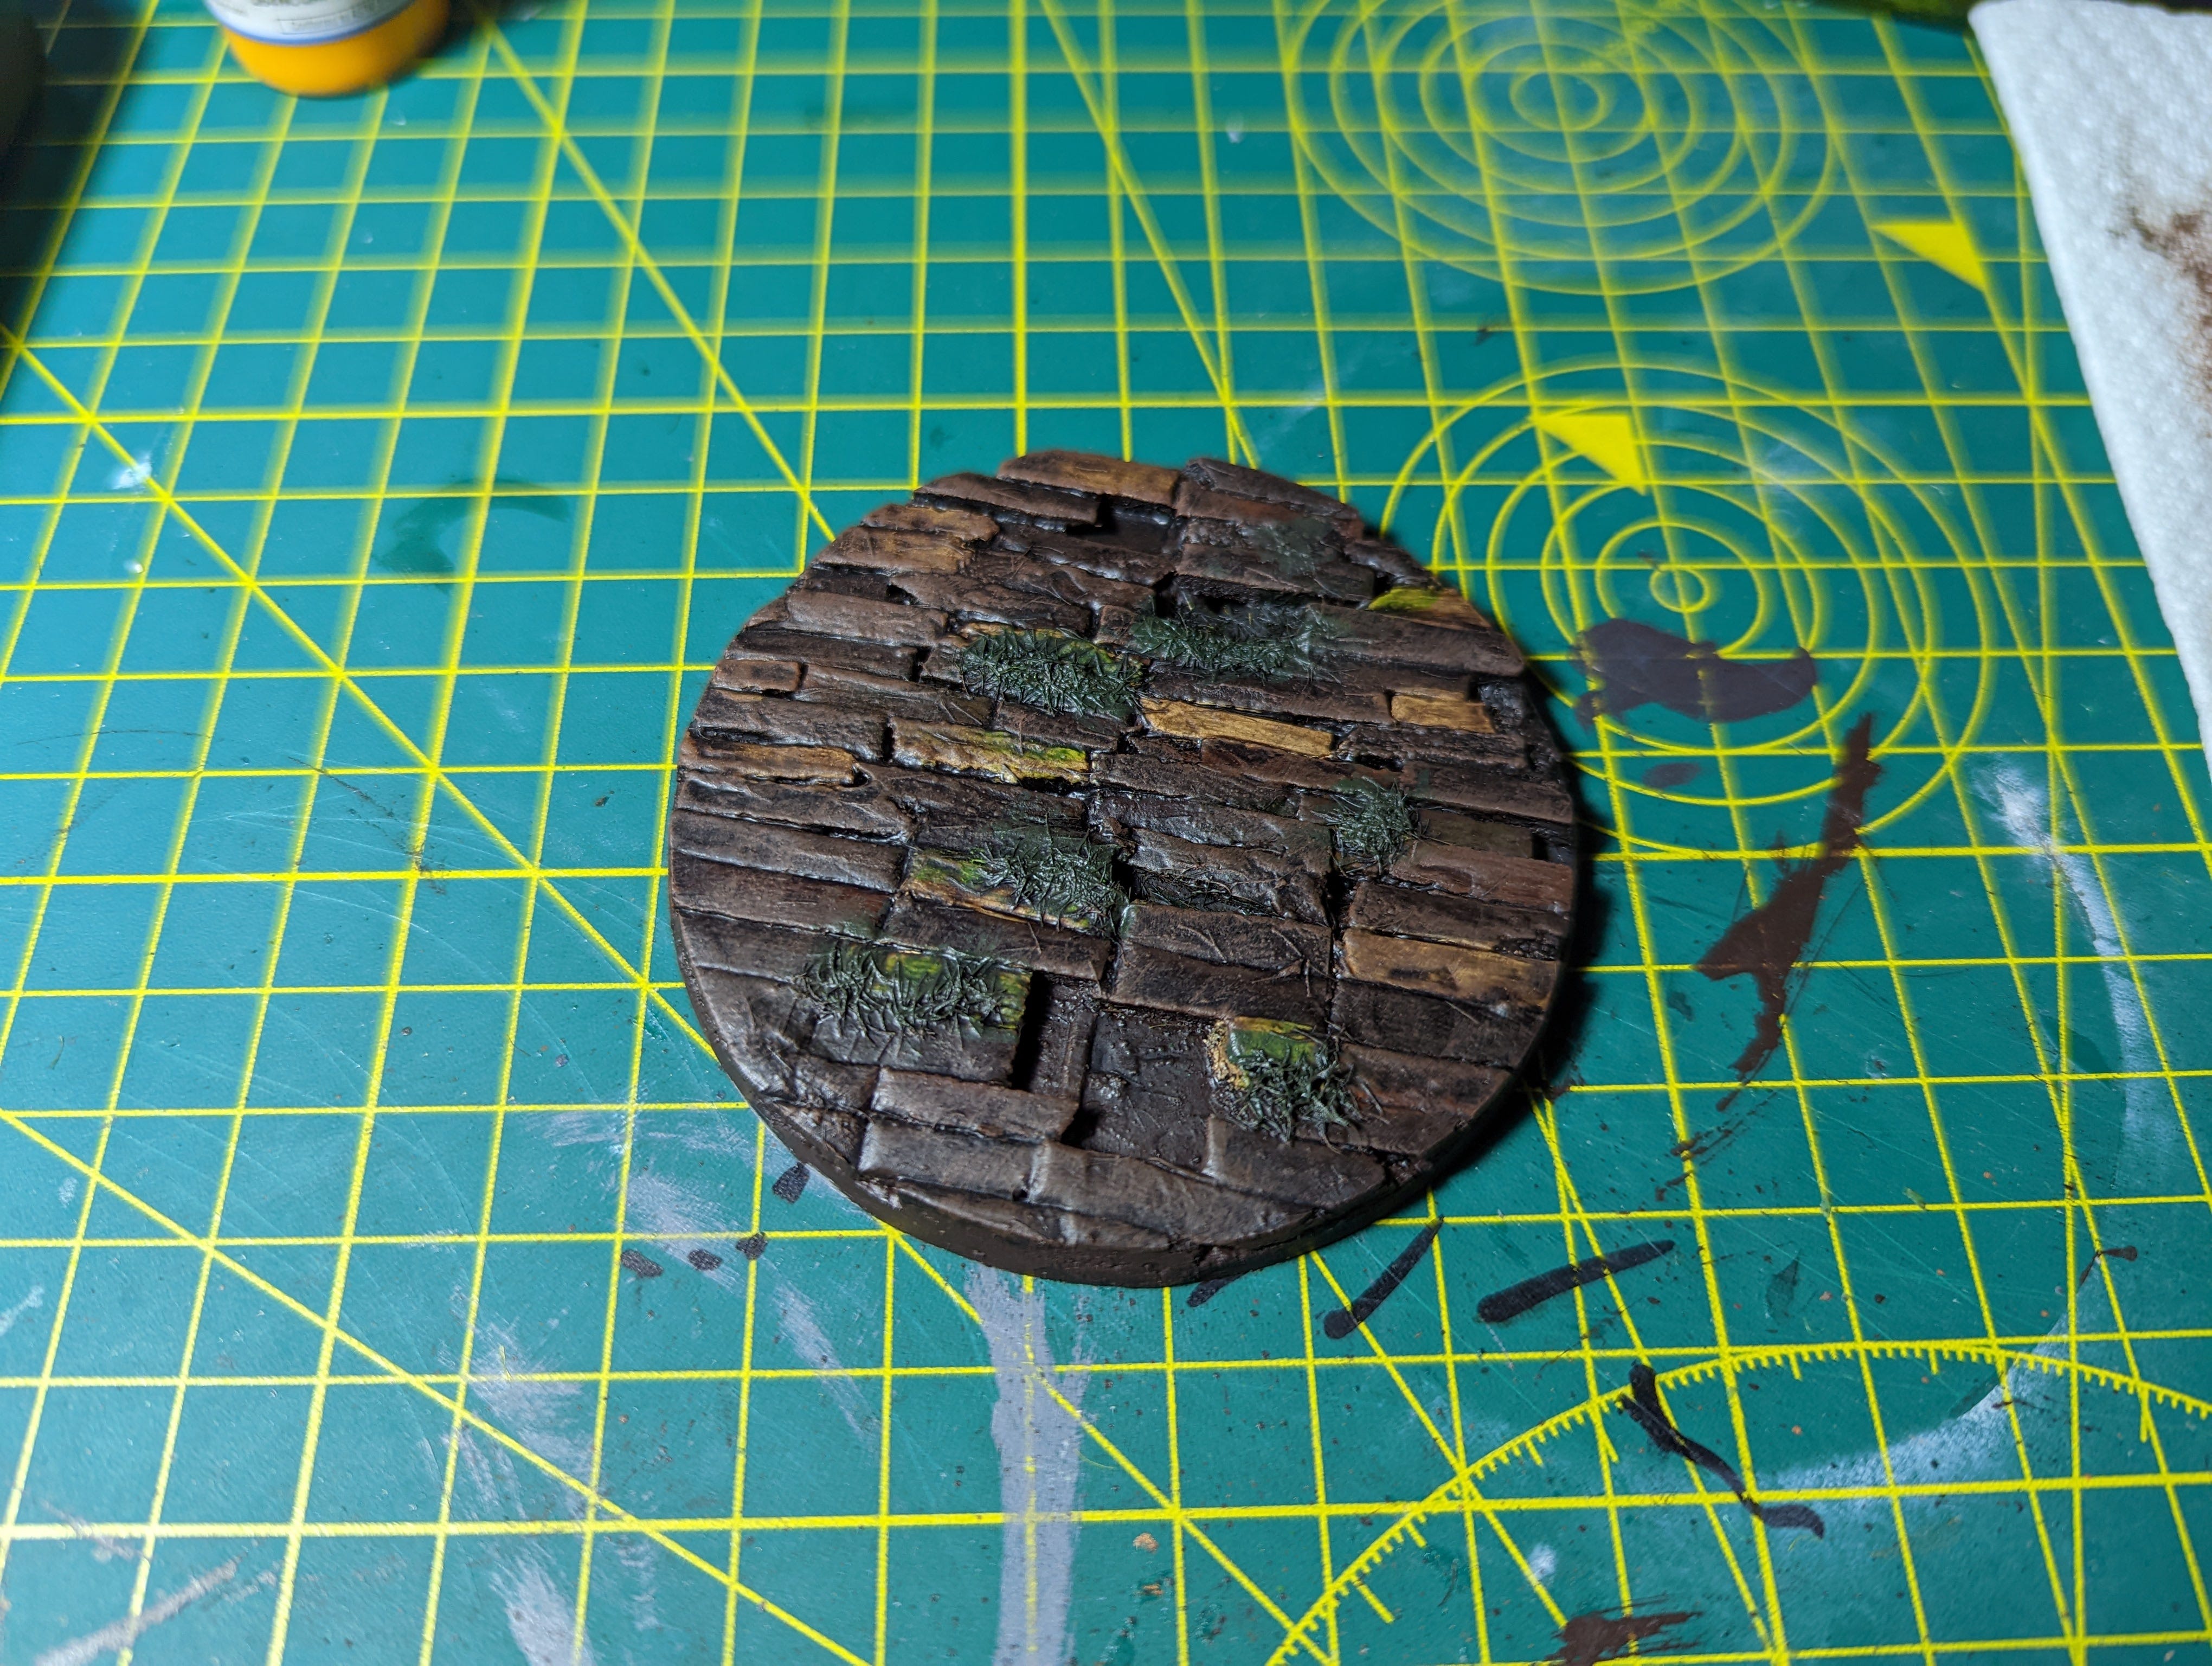
Once the glue has dried, I began the process of painting the base. For this part of the project I ended up doing a little painting over a week, so I forgot to take pictures after every step. Luckily those steps were rather simple and probably would not be that entertaining to see in the first place. But for those curious, I painted the tiles with multiple layers of brown colours, making some planks lighter, and some darker. I also decided to add some moss effects, so I glued some grass basing I had in my drawers from a long time ago and gave everything some nice washes to enhance the look.
Final Product
And that leads me to how the whole miniature comes together.
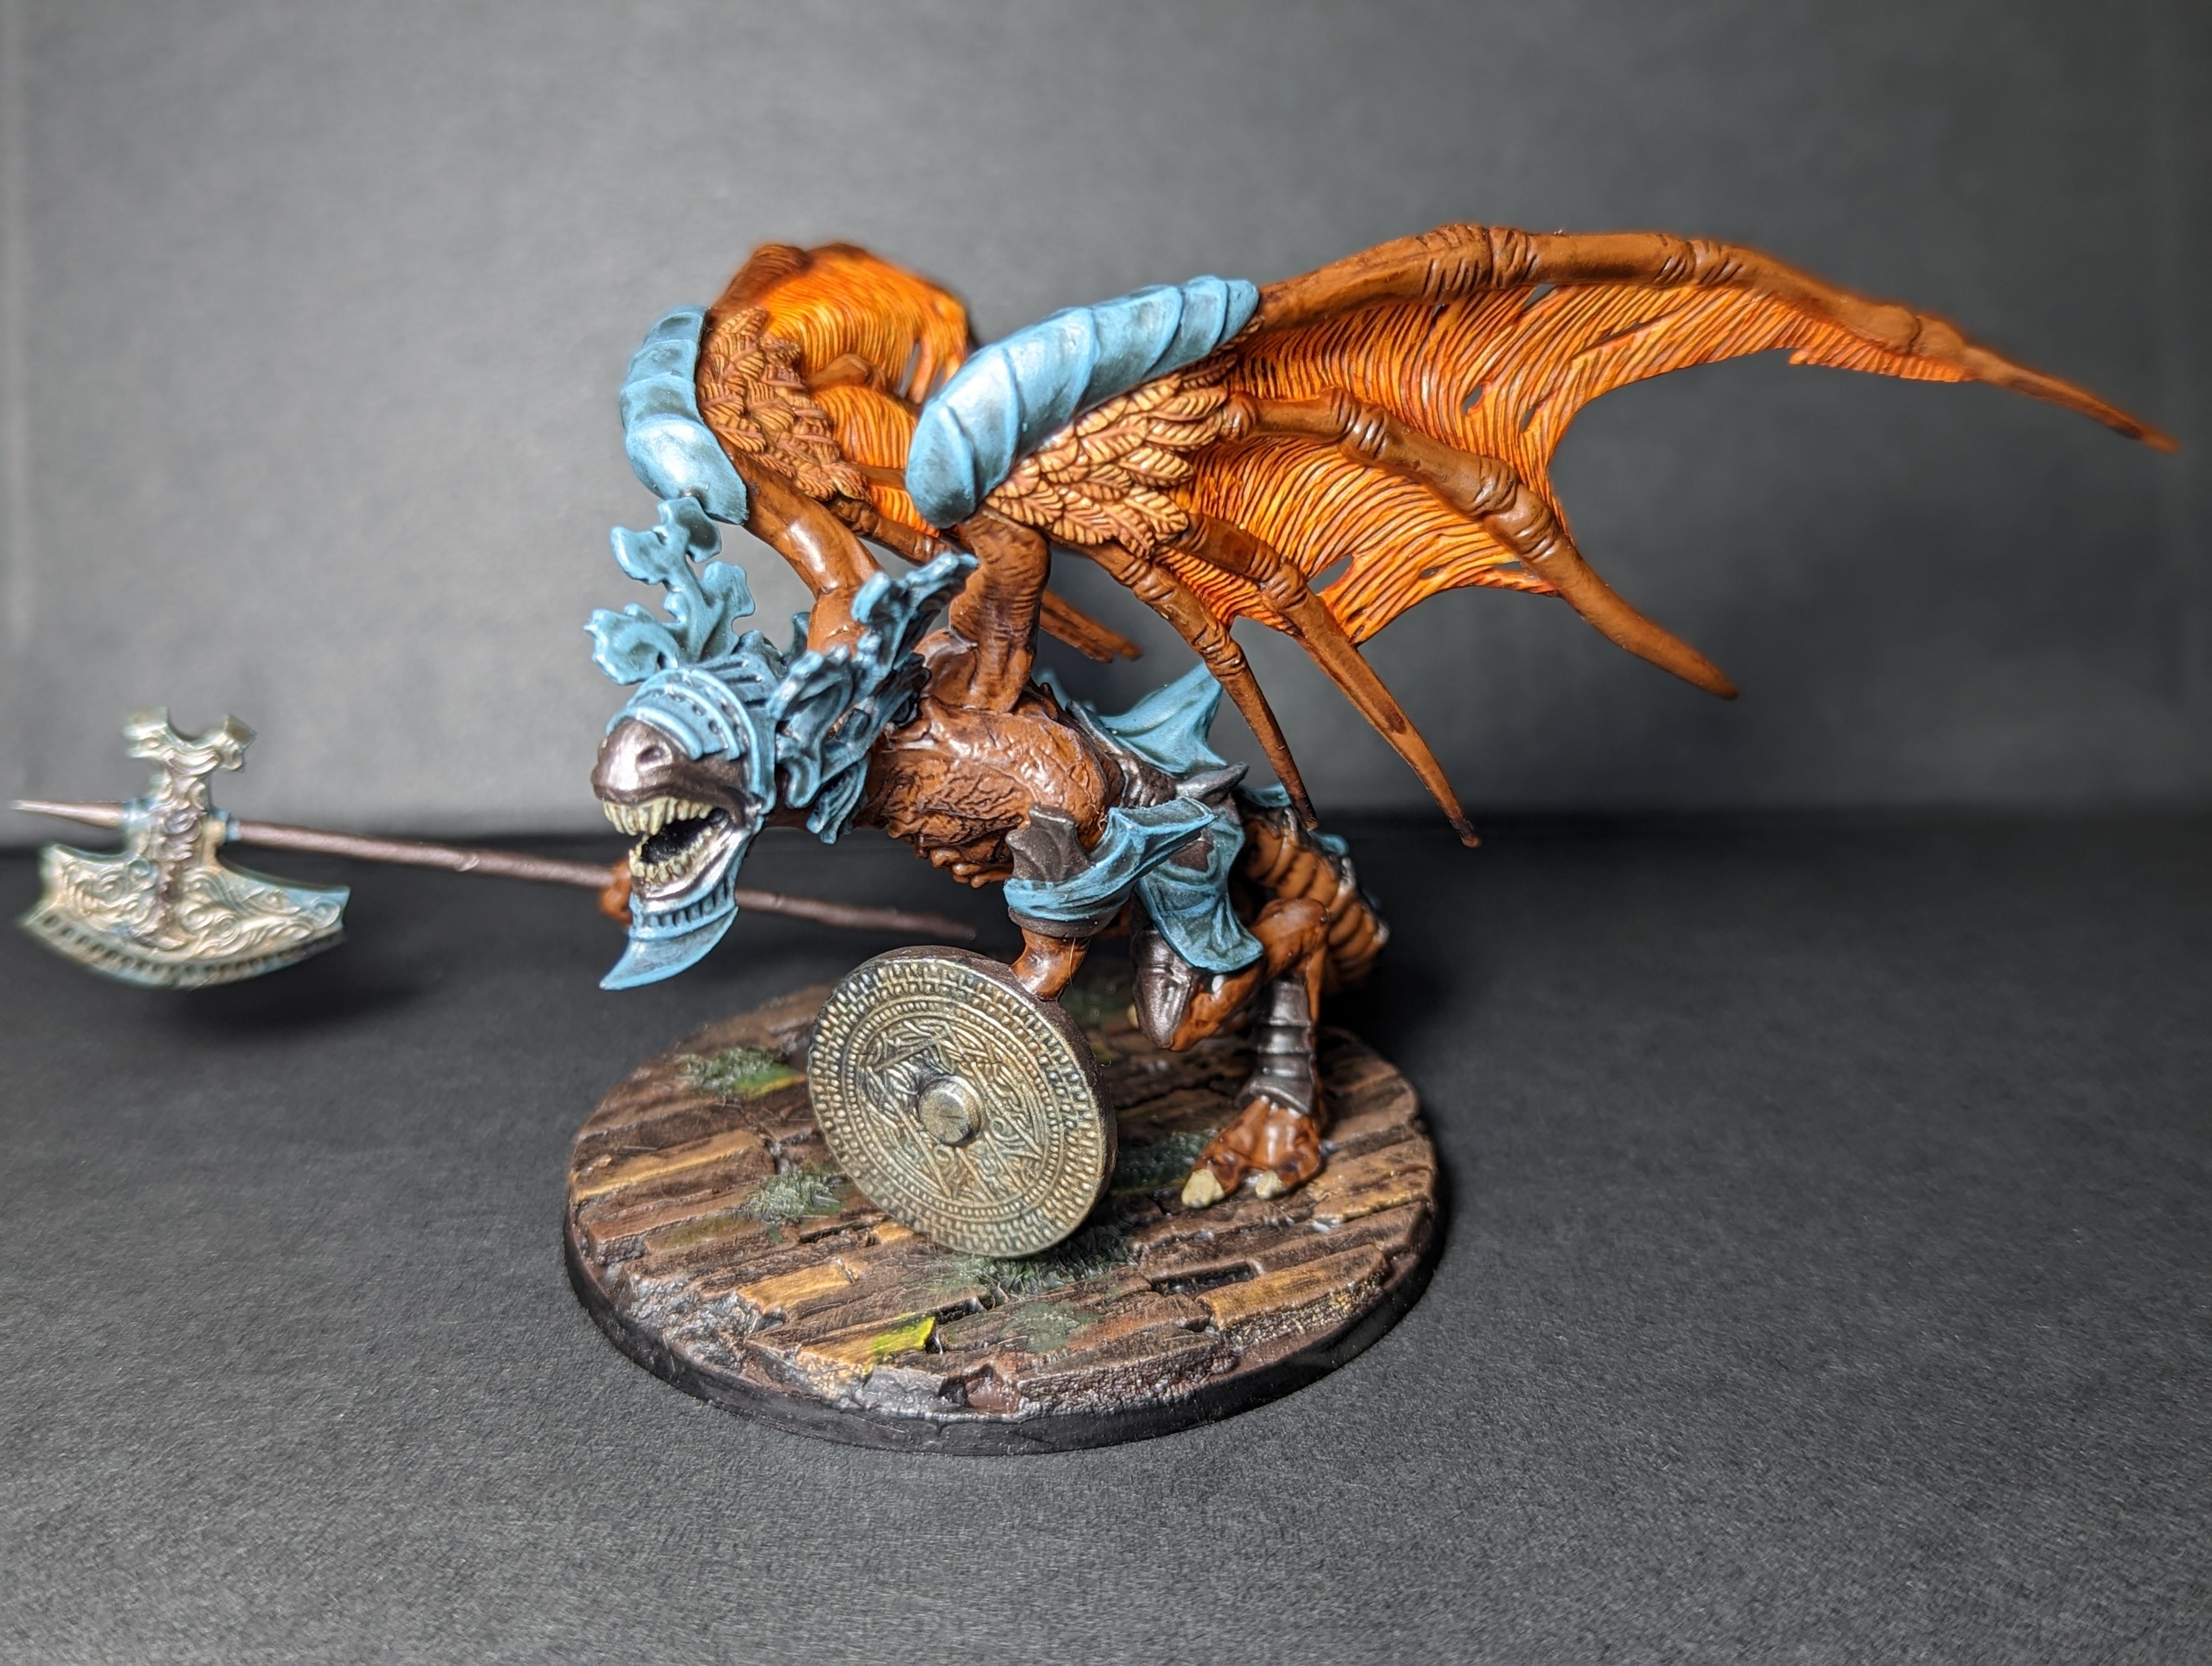
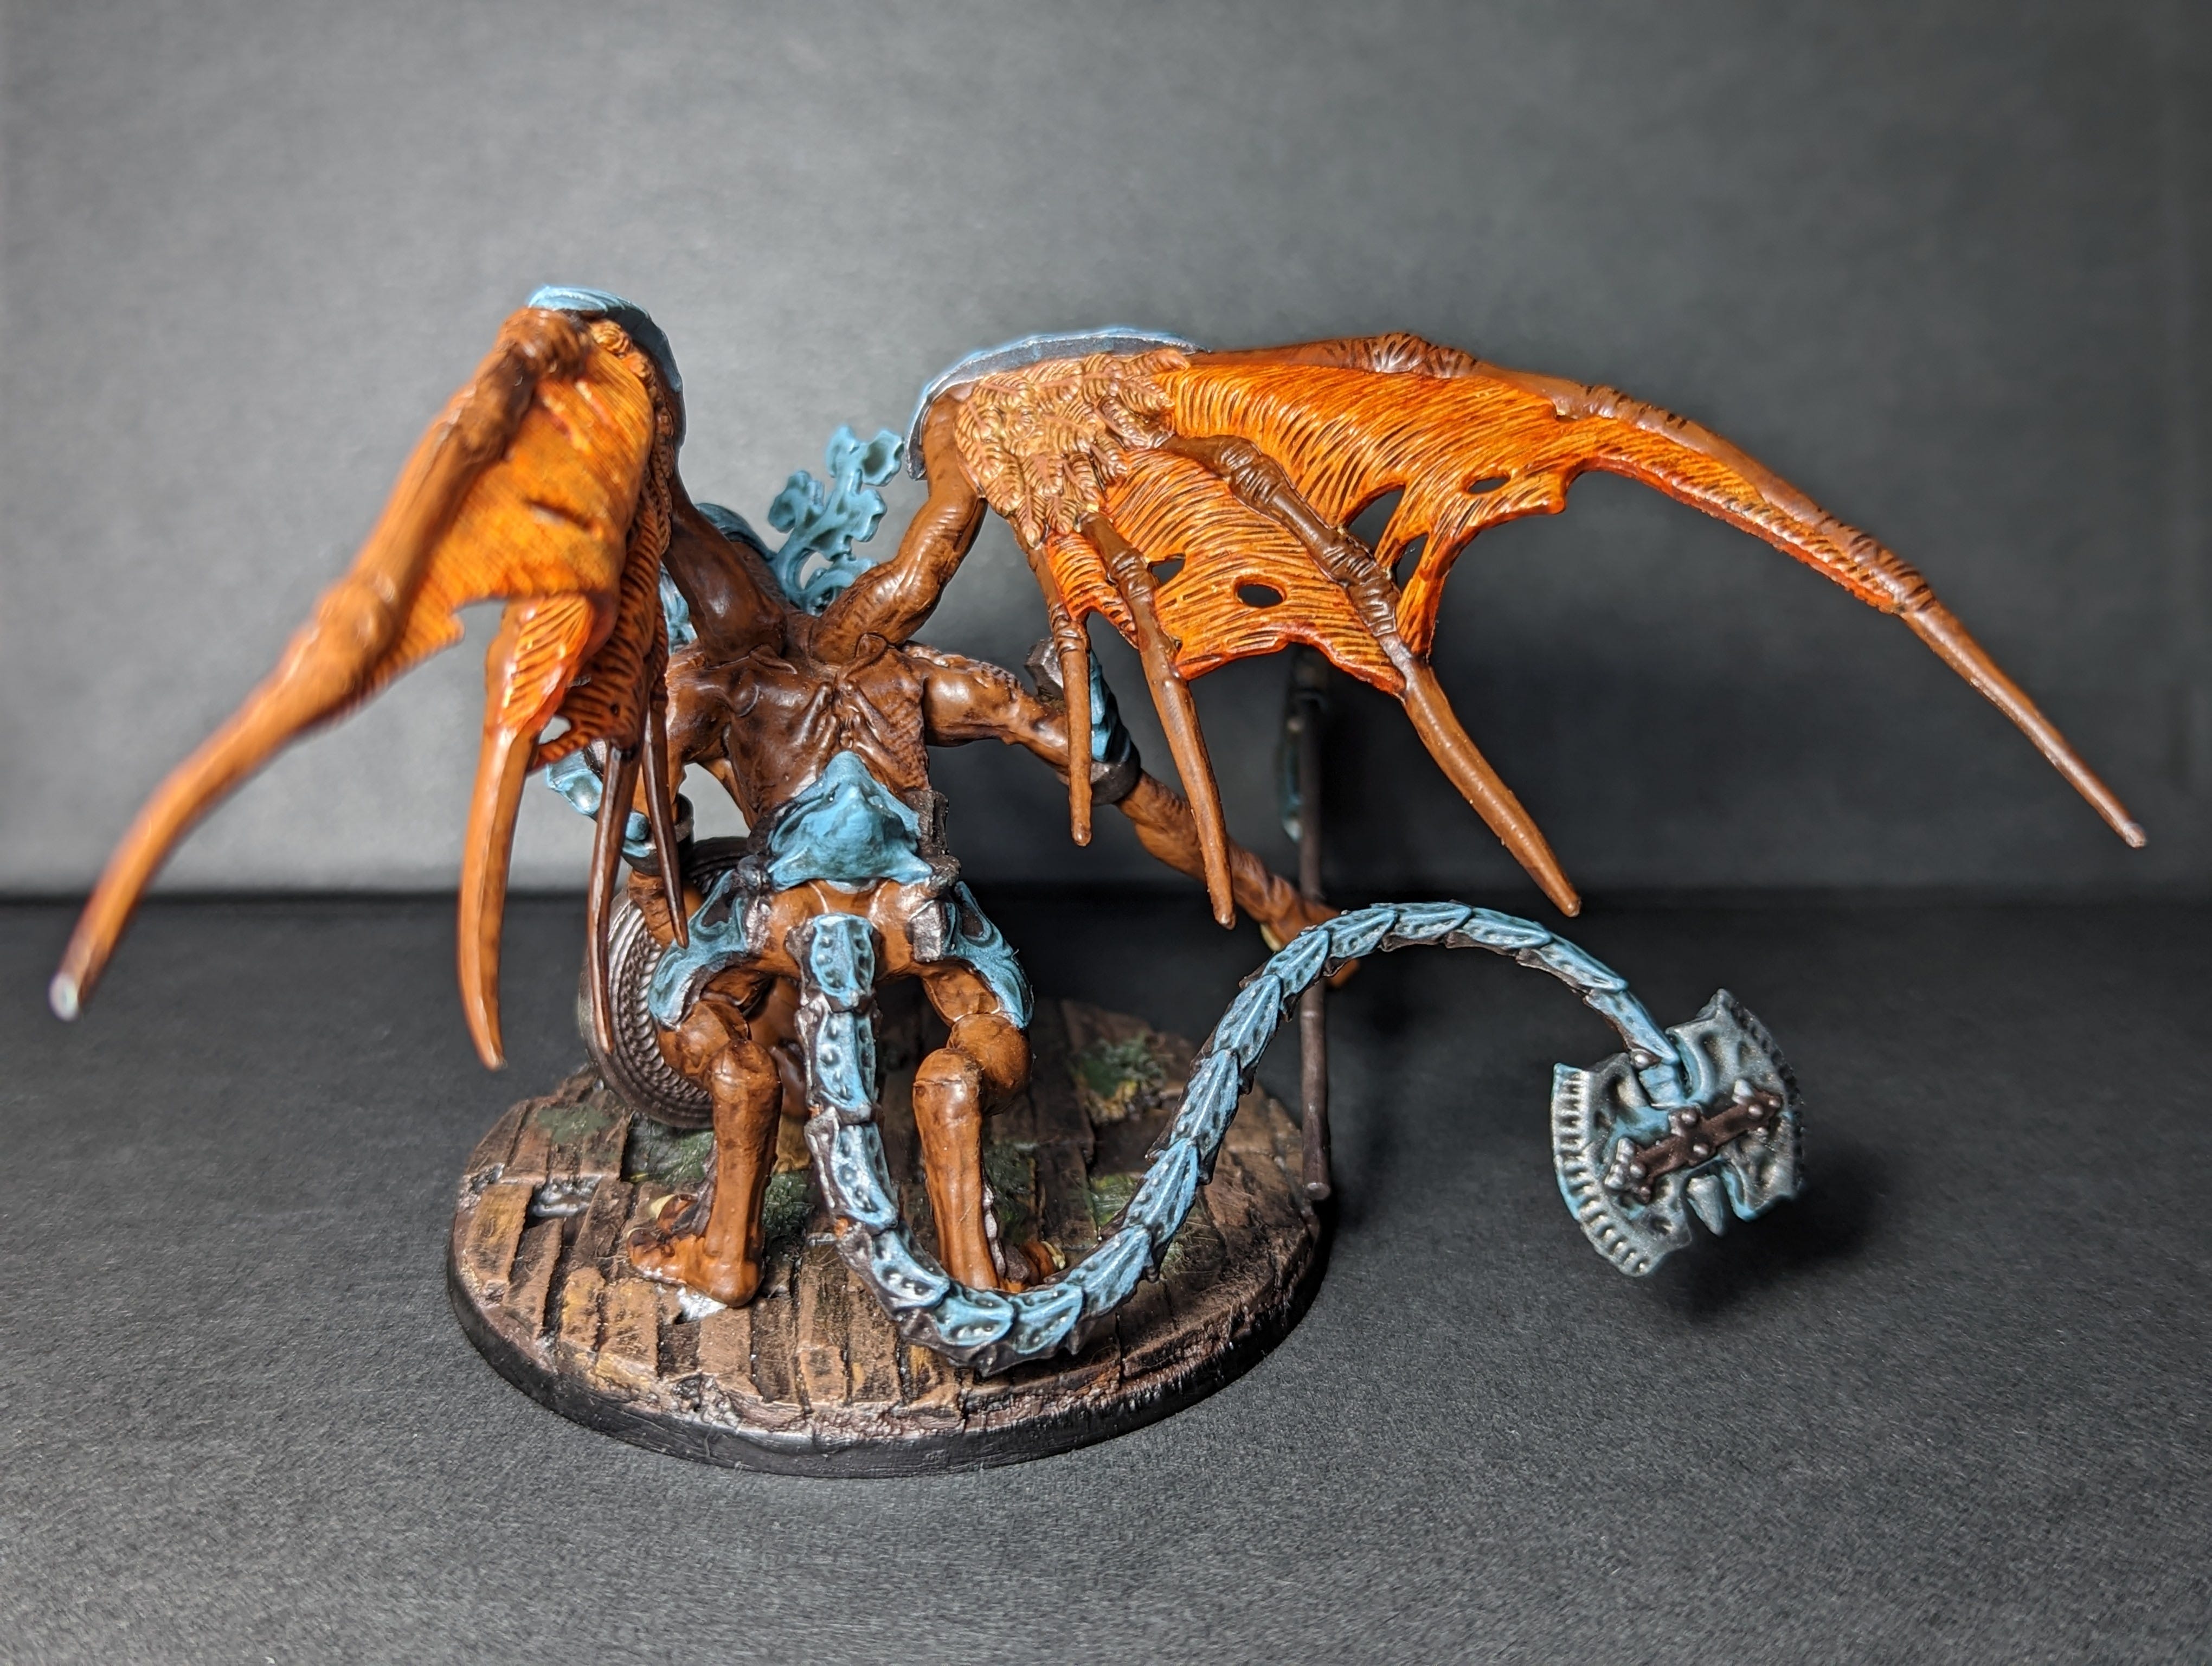
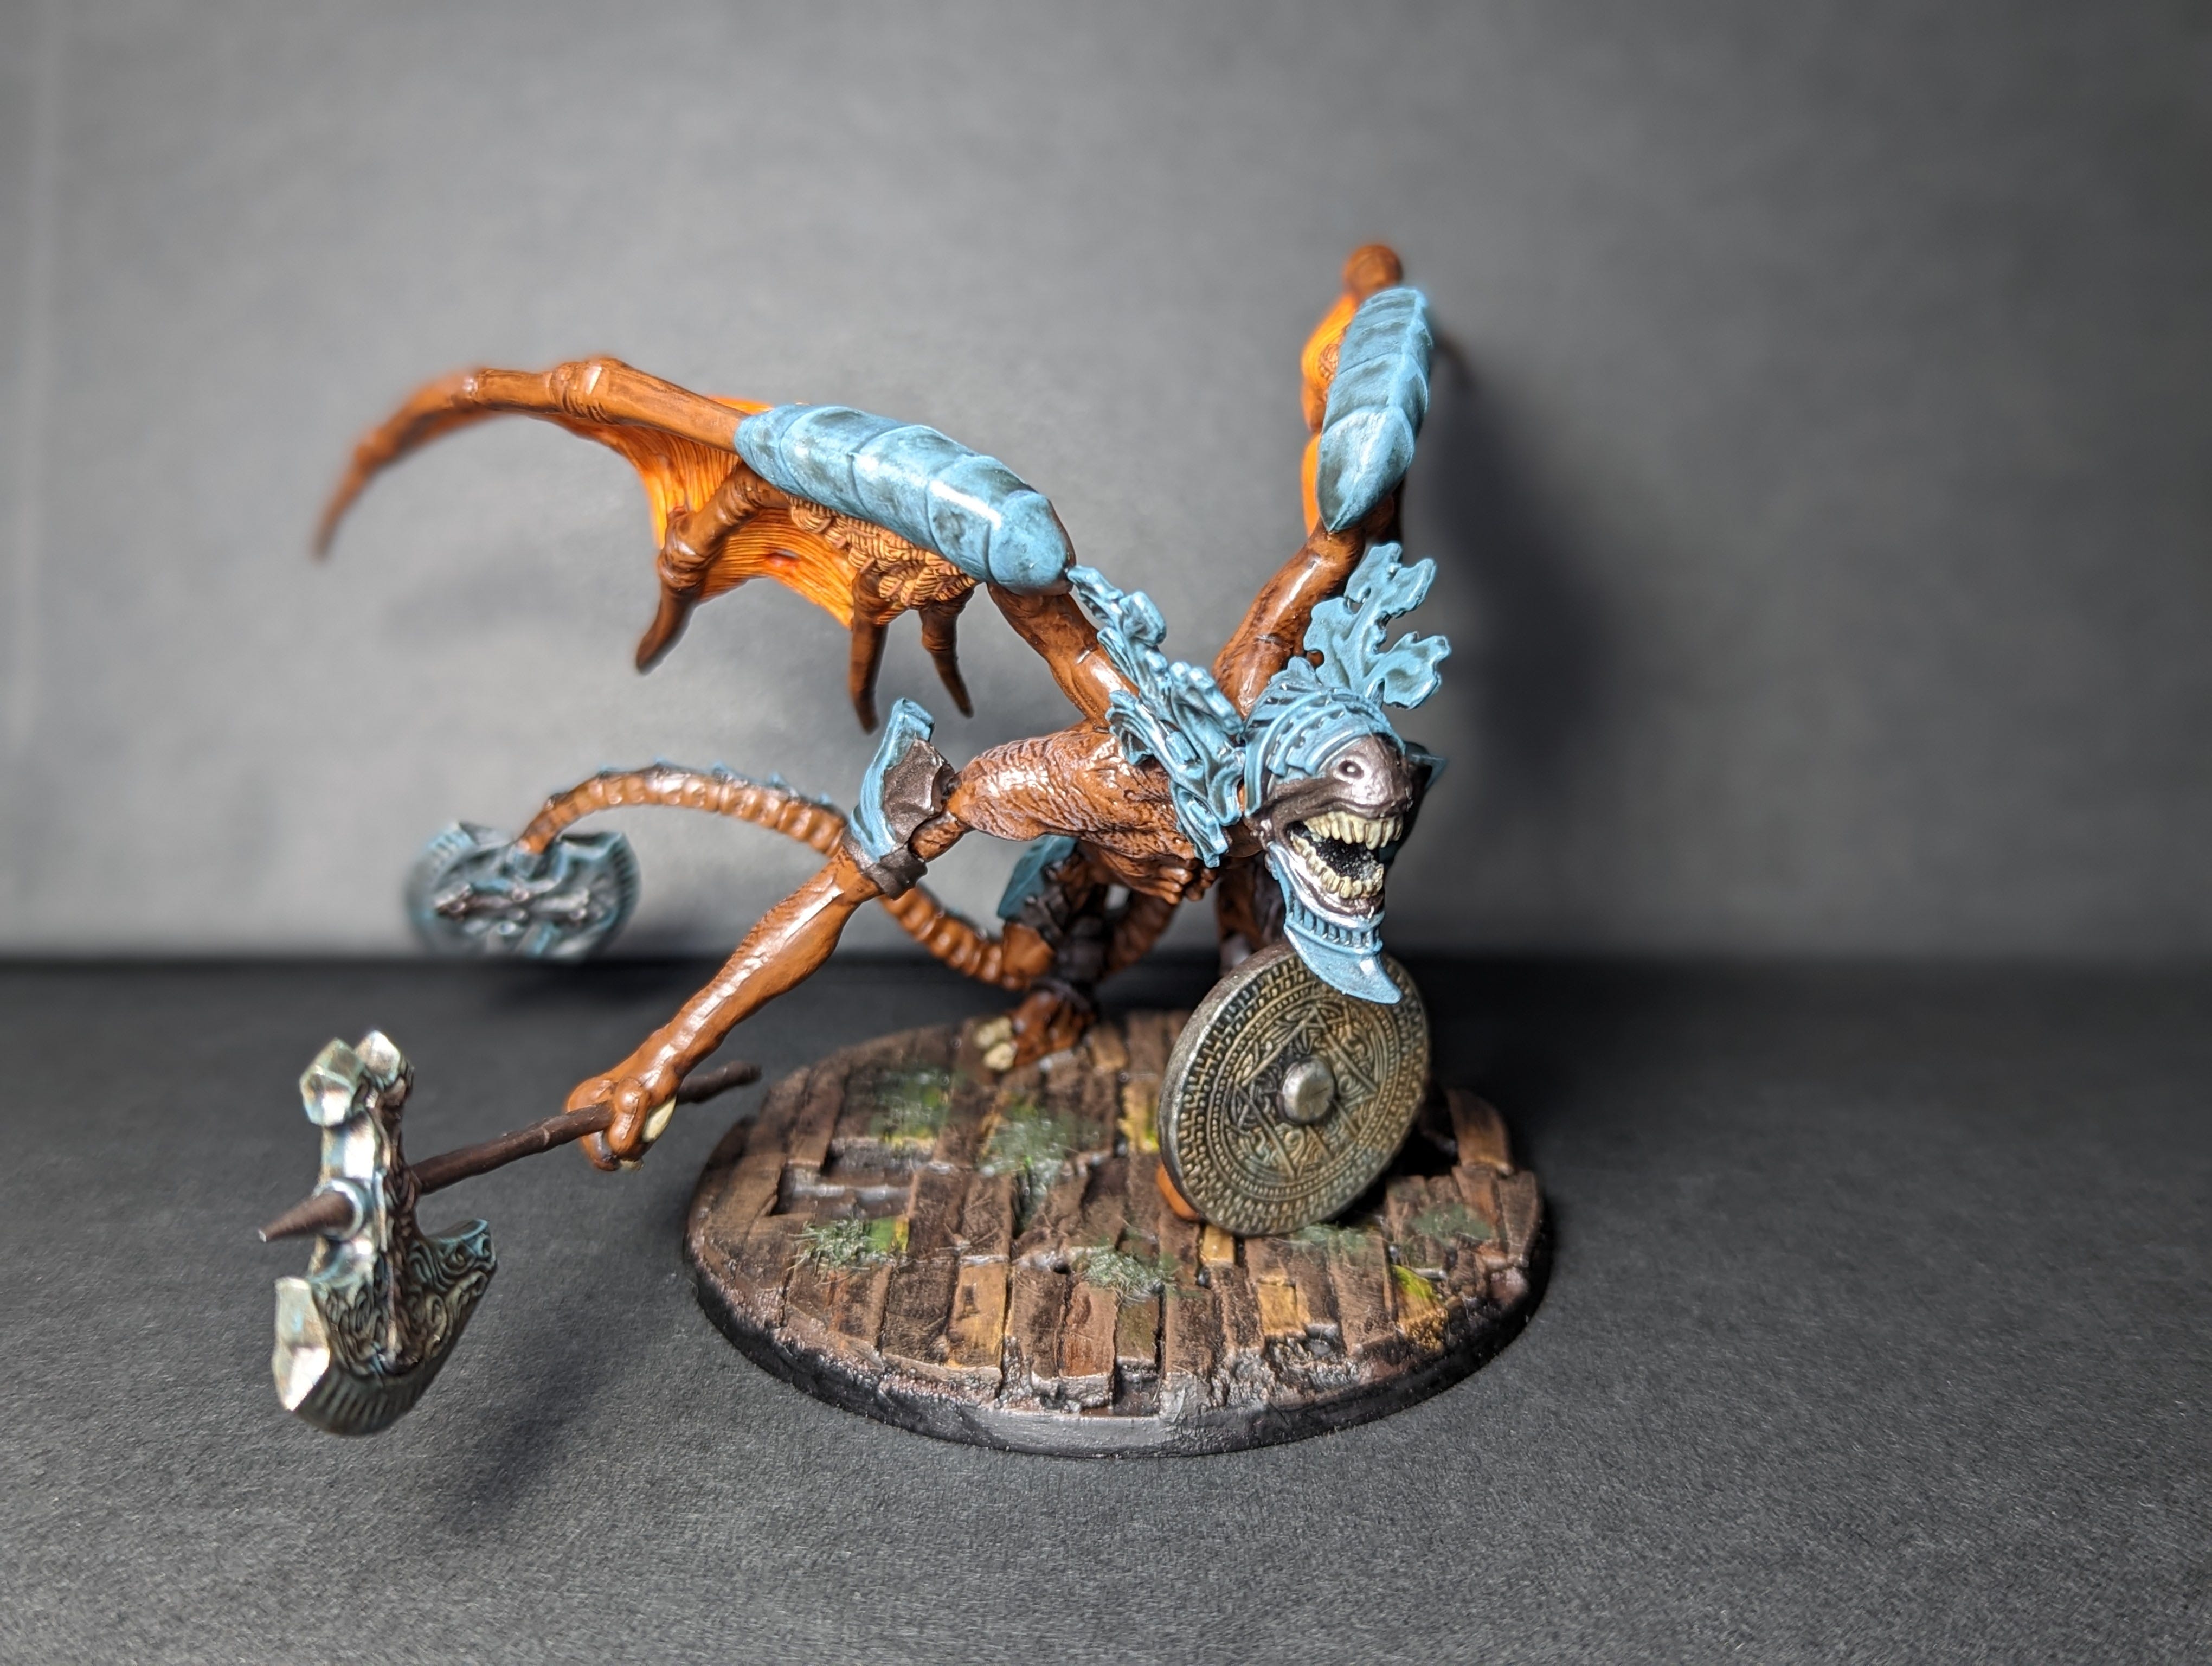
The more I look at it, the more I am impressed with what I managed to accomplish by highlighting and detailing such a model. This gave me quite a bit of self-confidence that I will be taking over to my next project, which will hopefully turn out even more amazing than this.
If you enjoyed reading this Blog, please consider sharing it to inspire even more creativity around the world.