Reliving my Teenage years with Miniature Painting
After I made up my mind about becoming more creative in my life, I have decided to start my journey with one of my favorite hobbies of my teenage years, Dungeons & Dragons. I have spent a lot of my high schools years, and my first year in University, playing a little game known as D&D. The game itself is a great resource to fuel ones creative urges as it combines many different mediums into itself, such as: writing, drawing, building or even painting. But my favorite part of D&D, that I spent quite a few nights on, was miniature painting. And that is exactly what I wanted to start my creative journey with.
I have not painted any figurines for about a year, and my skill set has dried up, just like all my paint brushes left unused for a long time. The time has come to once again pull out my paints and give some color to my small gray friends.
To begin my task, I have bought some new paint brushes and some miniatures that I liked. And like so, we begin the task of painting them.
For my first crack at this hobby after a while, I have decided to set a standard for myself. Rather than trying to learn and fill my head with new information right off the bat, I wanted to paint the first figurine with what skills and knowledge I remember. And with that, I picked up my first couple of miniatures, little goblins from the Epic Encounters set and got to work.
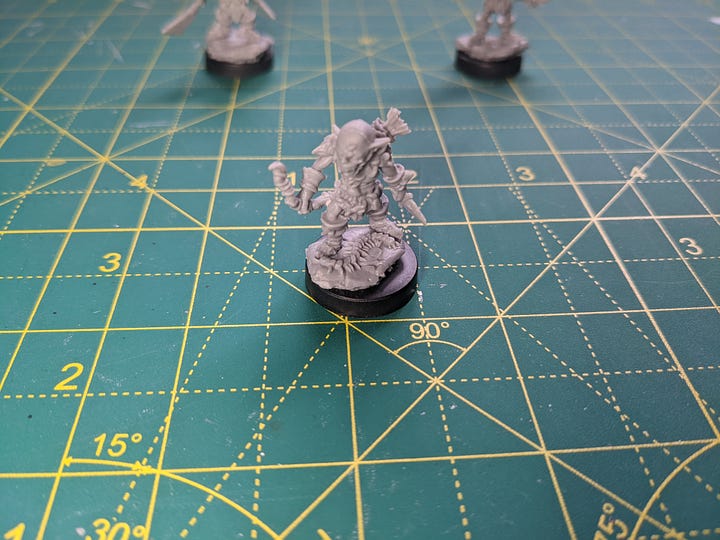
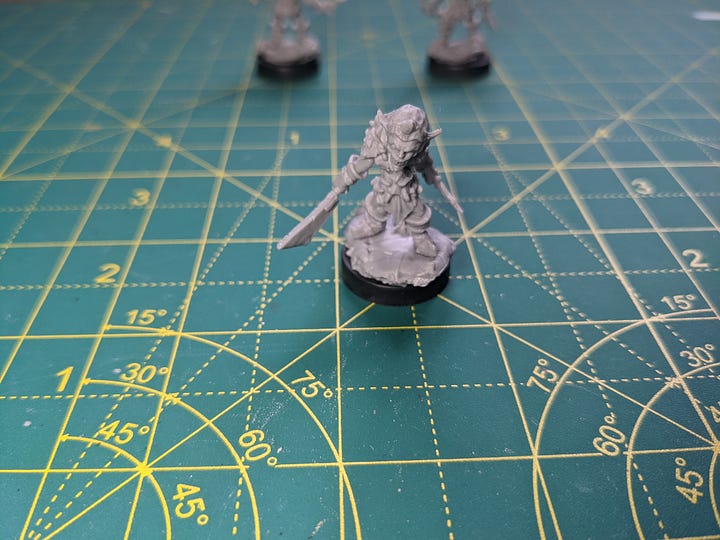
I began my work by cleaning and prepping the miniatures. The cleaning process was really simple and straight forward. The quality of the mold was really pleasing and it did not have to many imperfections that needed fixing. So I took my trusty hobby knife and file, and cracked on. I began with running my hobby knife along the seam lines to remove most of the unnecessary plastic. I then grabbed the little file and cleaned up the area around them to make the surface smoother. This resulted in the miniature looking a bit more clean, but also it being covered in dust. Luckily for me, the next step is washing the mini.
After all the scraping was done, I took the minis to the sink to wash them in some warm soppy water. This helped not only remove the dust off the figurines, but also any mold removers that may have been used in the production process. After all the cleaning was done and the miniatures dried, I moved on to the last step of preparation, priming the models. To prime the models I took Army Painters Troll Skin paint and covered the whole mini from head to toe, leaving no area untouched. This is going to allow any future paint layers to adhere to the miniature a lot better while also giving it a bit of a darker and more theme appropriate color.
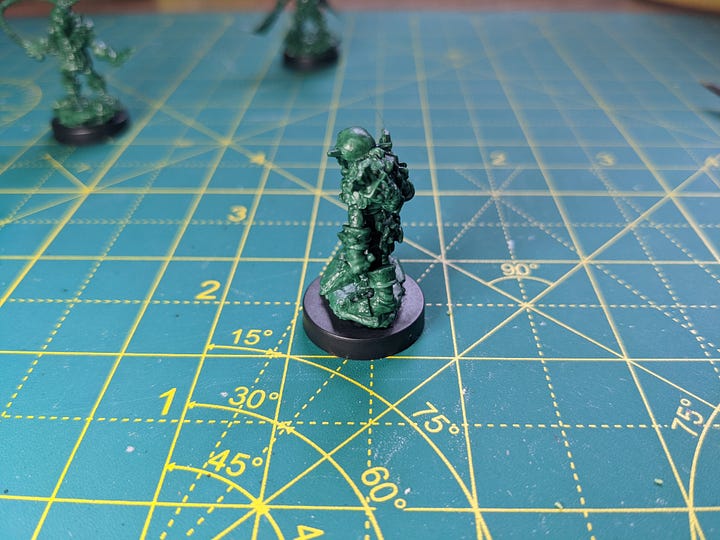
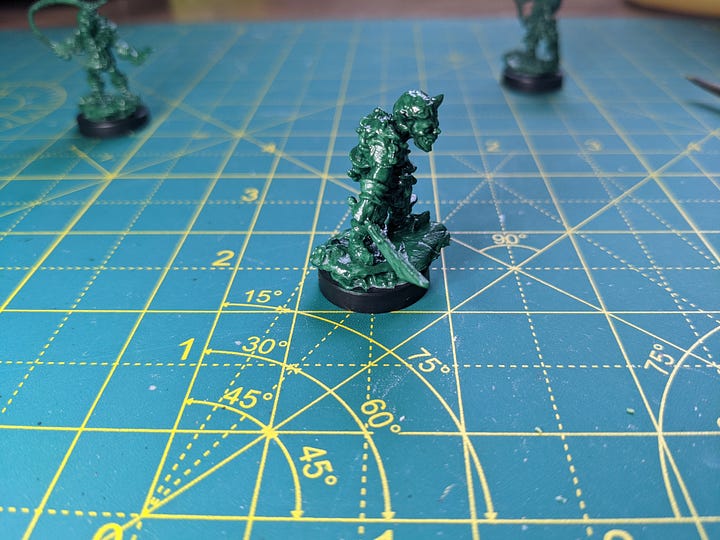
Once the minis were primed and dry, I could move on to the painting process.
I started base coating the minis one detail at a time. I began with taking two different brown shades, one lighter and one darker, and covered the models hide clothing. The darker shade for the boots, while the lighter for the undergarments.
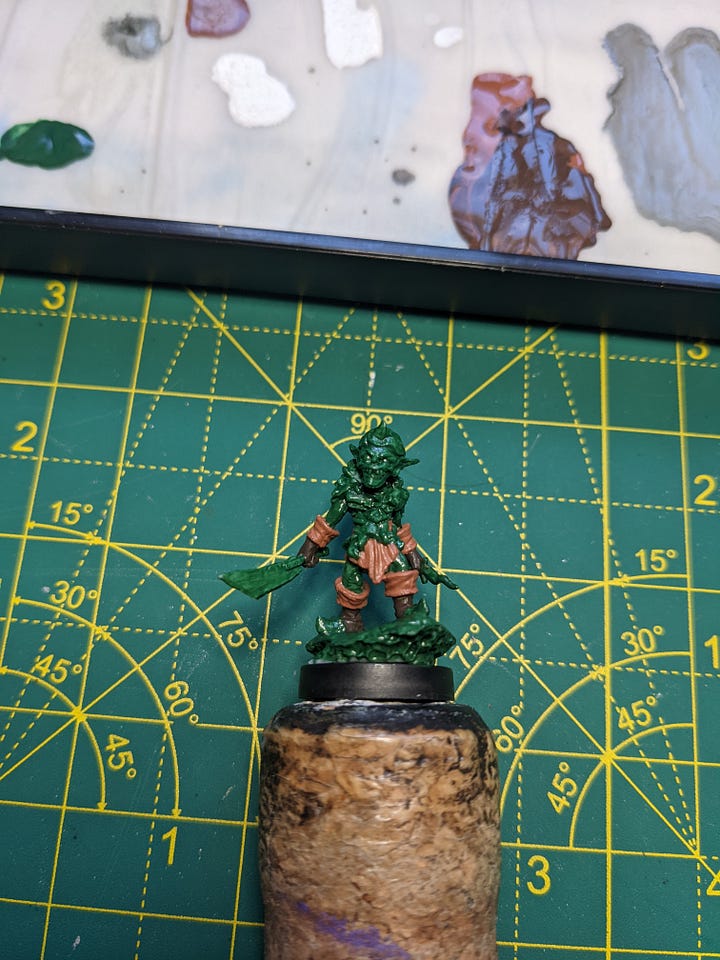
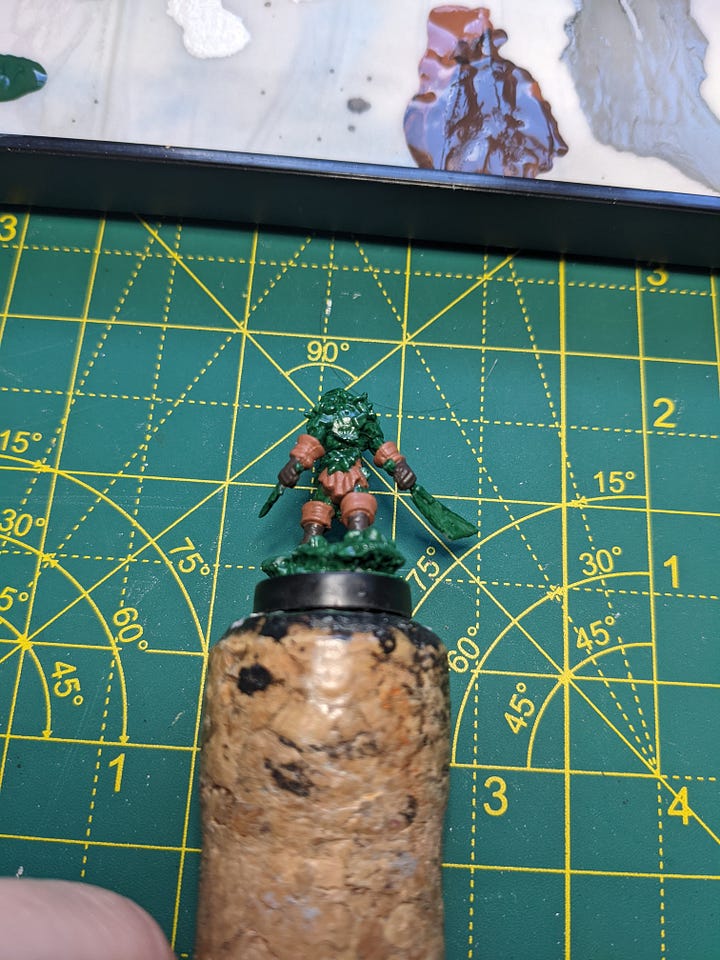
I moved on to base coat the armor and any steel part in a gray color. I did leave out the blade for the end.
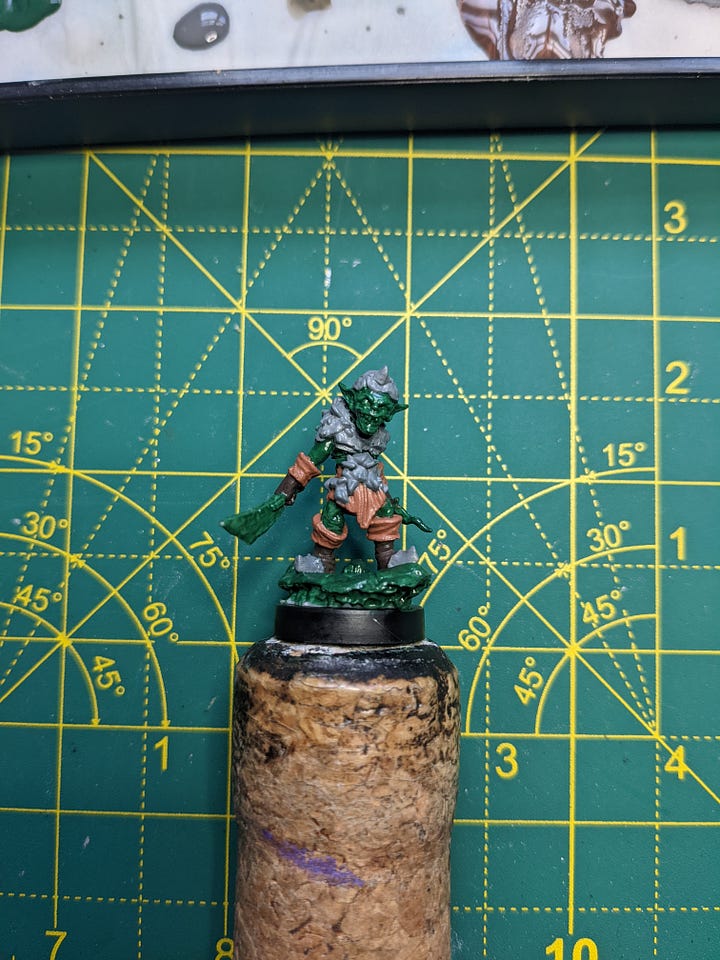
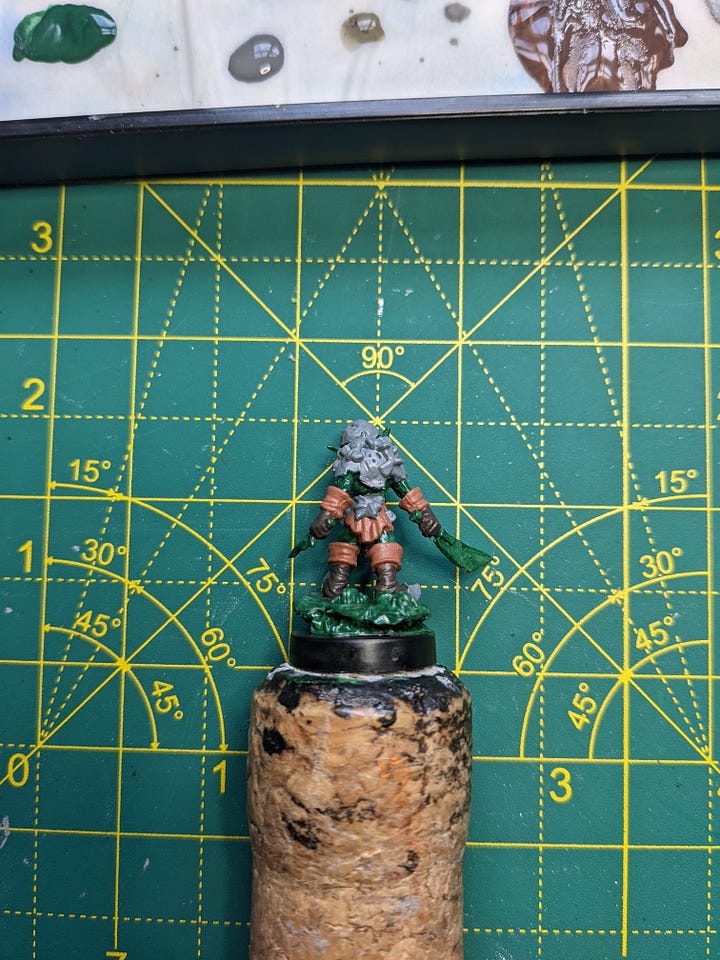
The last step of base coating the goblins was painting their skin.
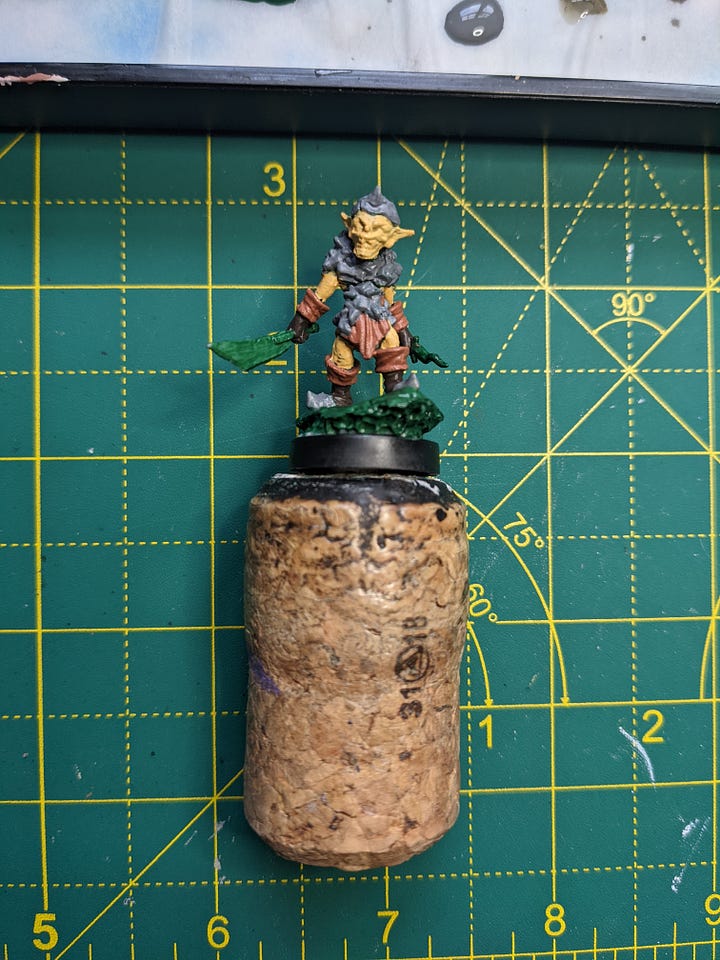
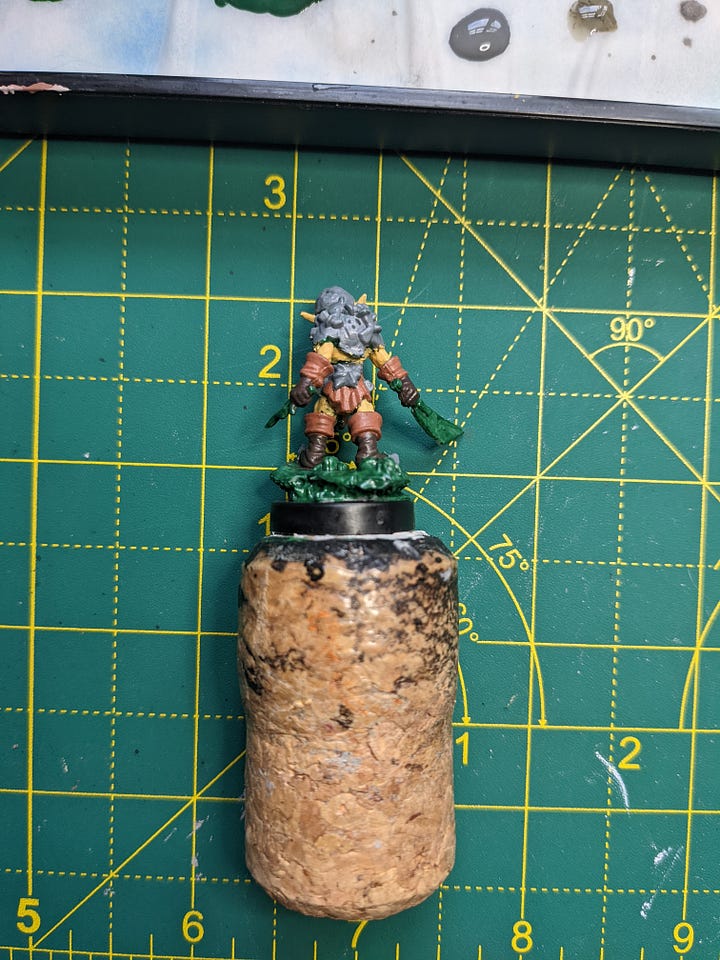
Once all the base coating was complete, I could add some finer details to the models. Those details included eyes, my biggest weakness, that I painted red. On top of that I went through all the metallic bits of the model with metallic paints. I finished the details with painting the base of the model with a stone gray color.
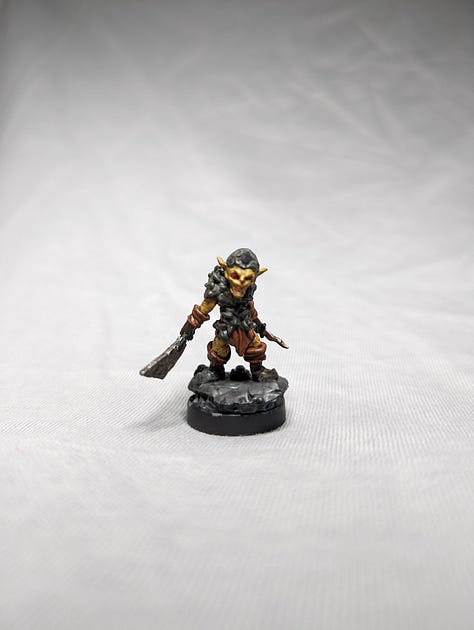
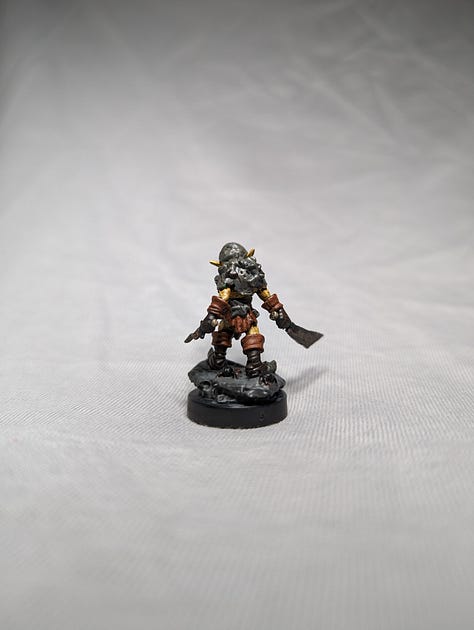
Once all the paints dried I took an older brush and gave the mini some shading using washes. These washes both brought out more details in the figurines while also providing some necessary darker shading to a creature that spends most of it's time in dirt.
And with all said and done, this was the finished product of my goblin miniatures.
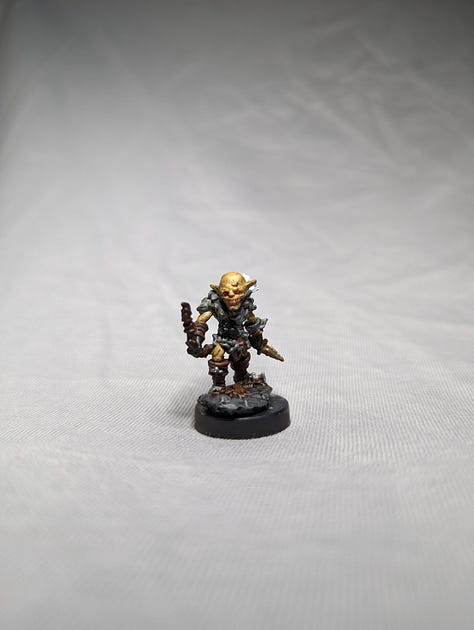
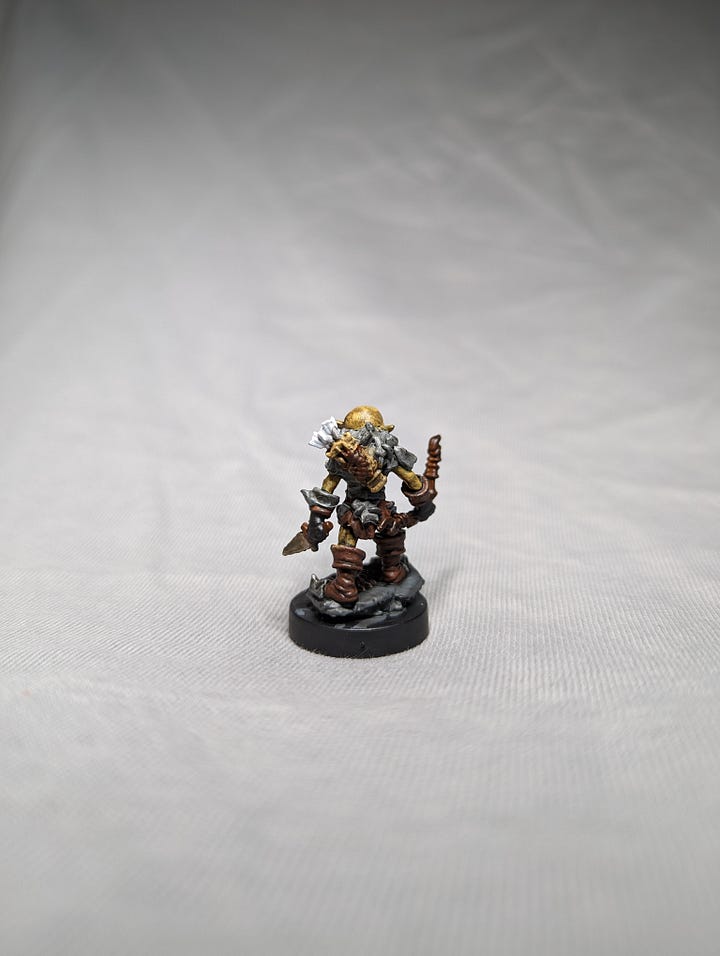
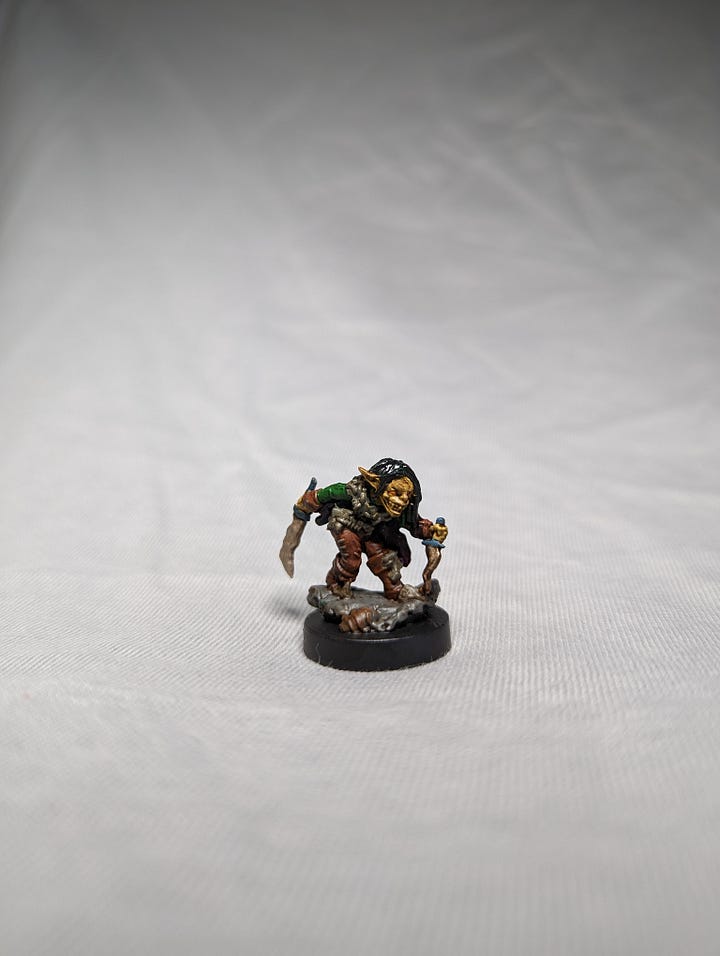
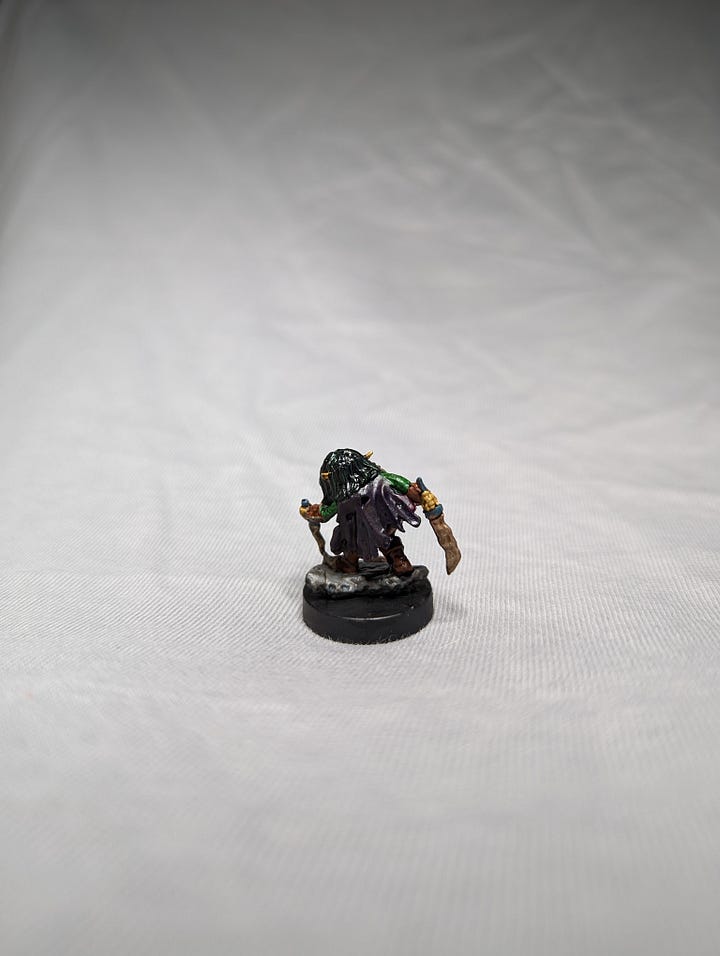
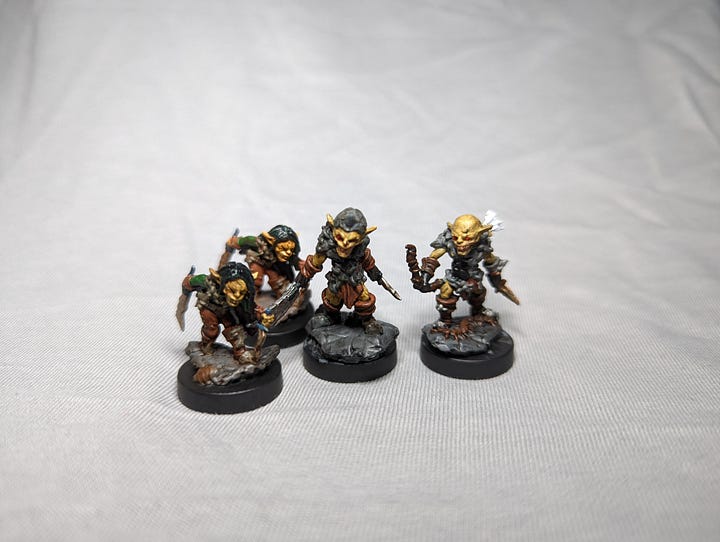
This concludes my first venture in creativity. I do hope you have enjoyed reading this post and that you will join me next time.


