

Beginning the Year with New Challenges
Painting Gorath, the Enforcer

Last week, I finished off 2022 by painting the first Crimson Court member, Ennias. That proved to be a massive challenge for me as I decided to put in the effort of attempting skills I failed in the past. Even though it took me many weeks to finally paint him, that experience was worthwhile.
Now, with the start of a new year, I tackled the next member of the Crimson Court, Gorath the Enforcer. And along with the lessons I learned from my previous paint job, with this one, I attempted things I have never tried before and was intimidated by enormously. Those skills in particular were painting non-metallic metals and airbrushing.
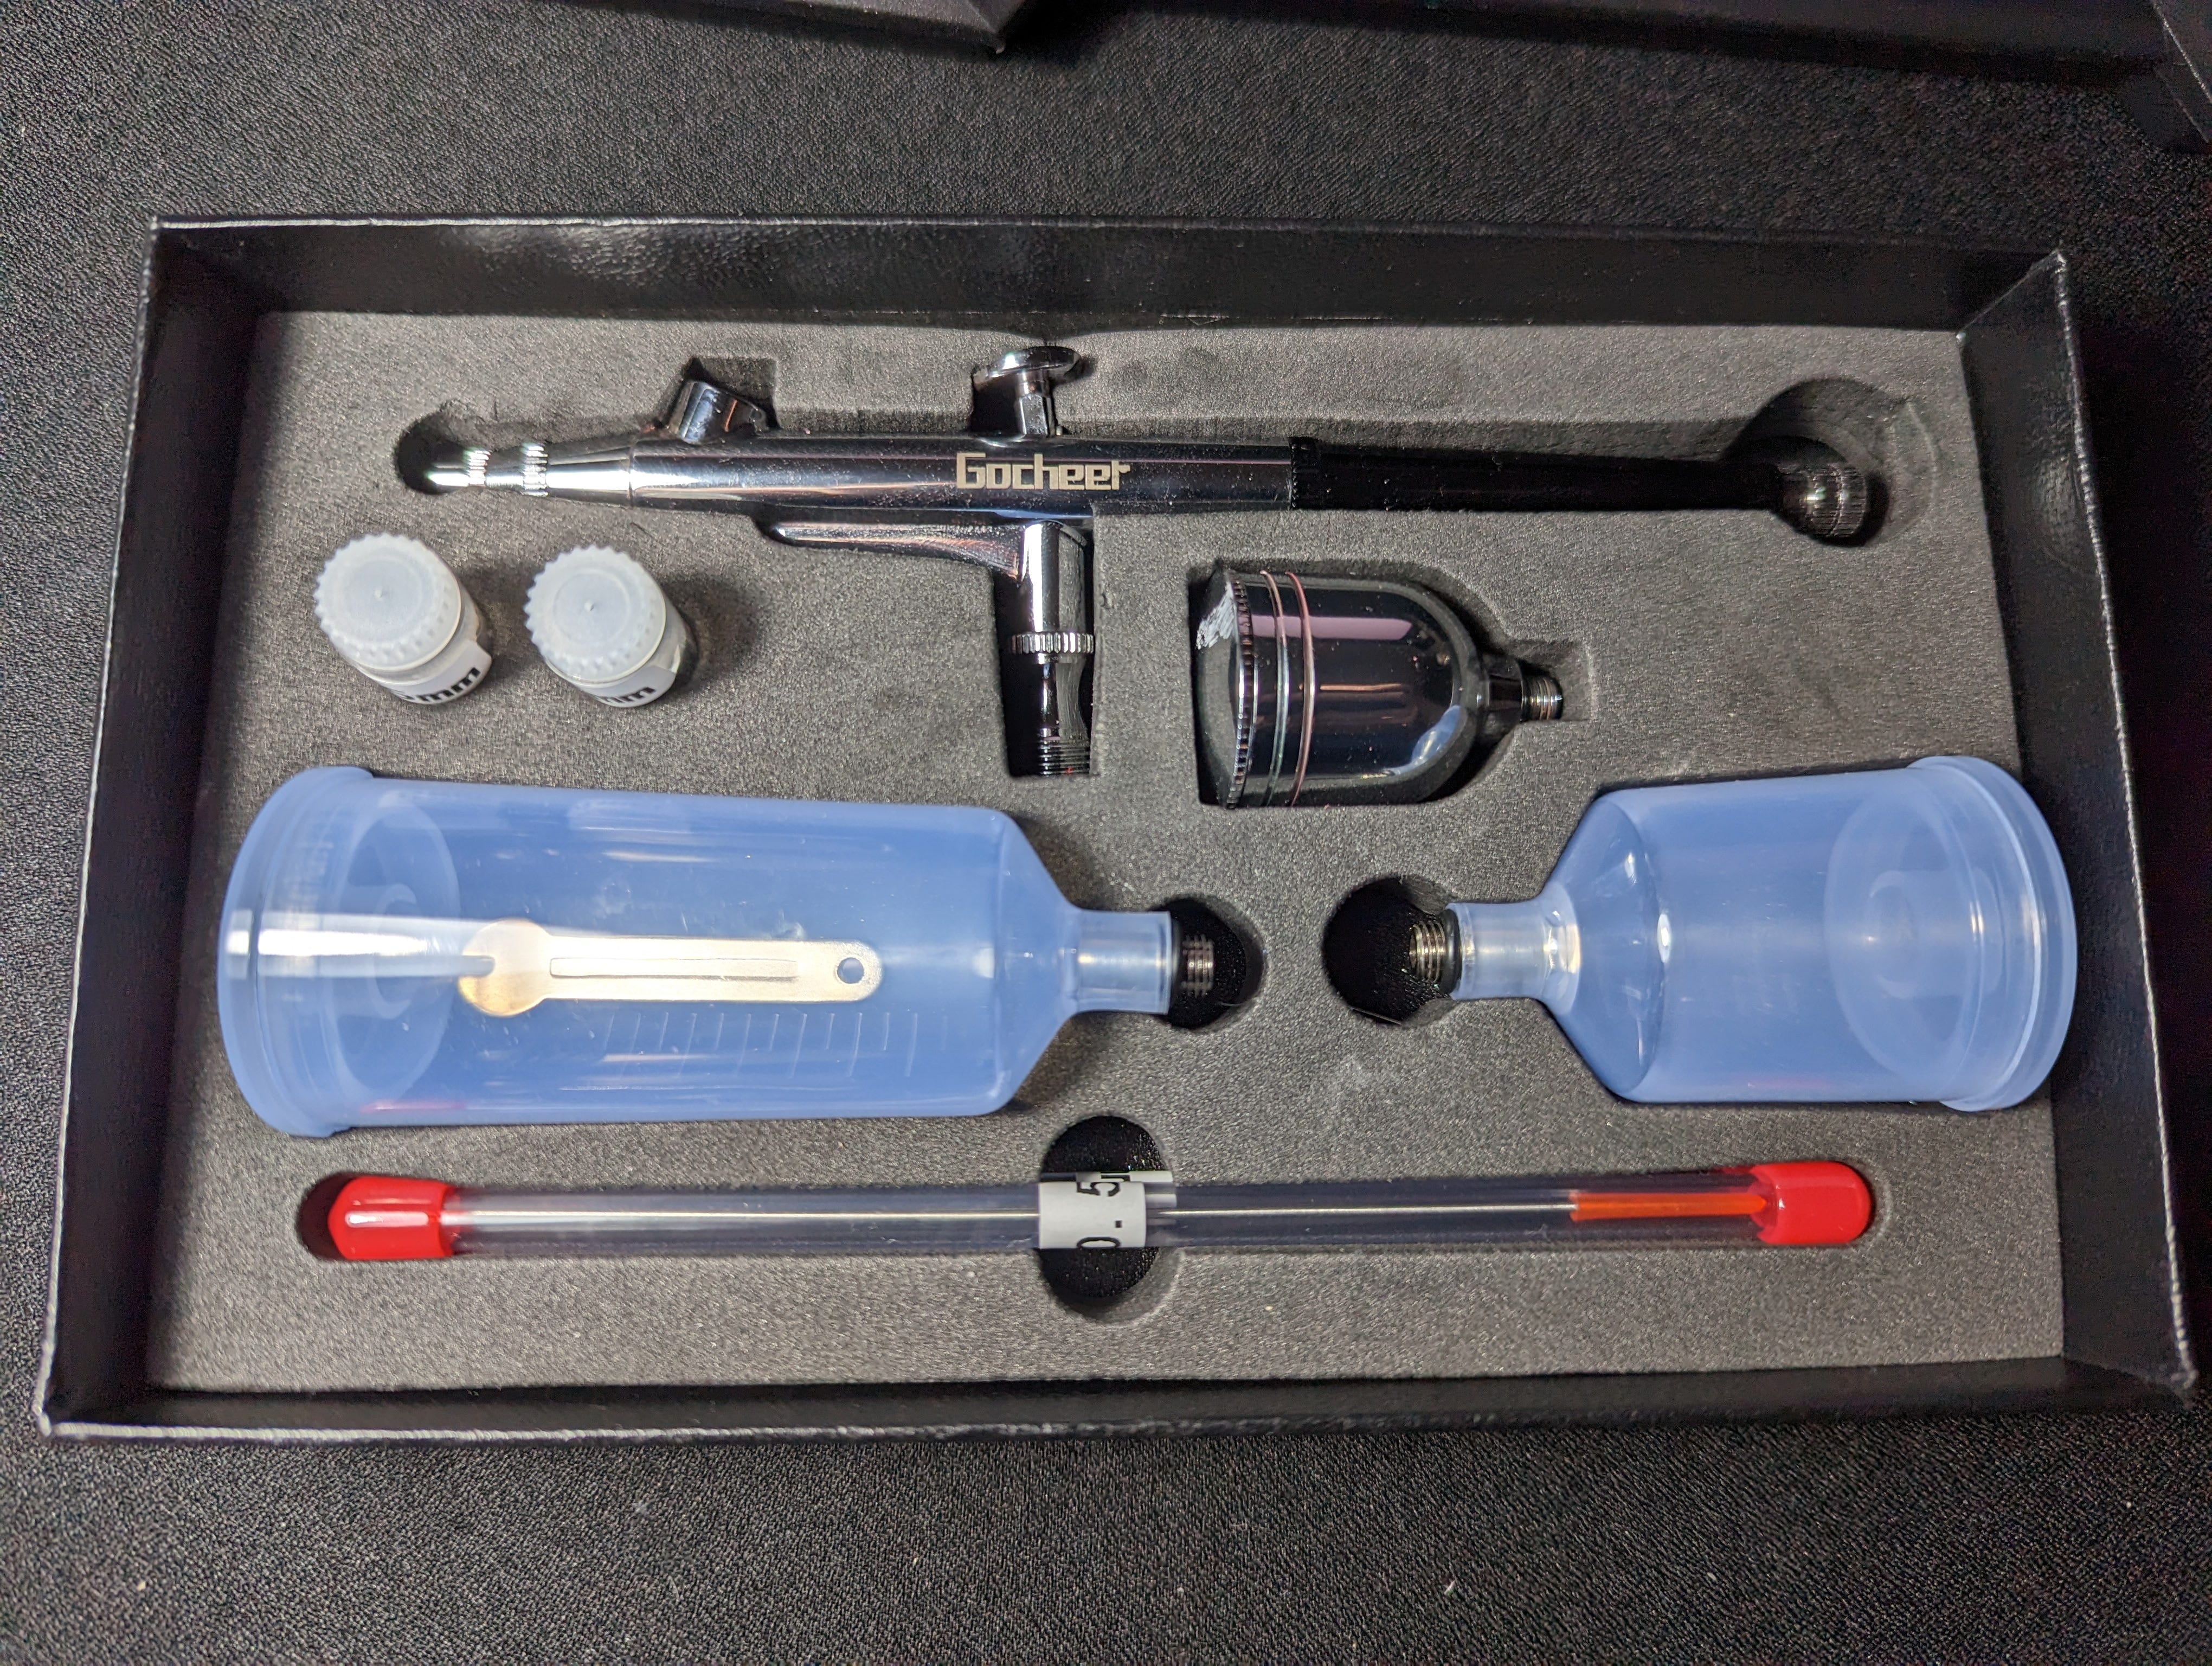
New tools for the job
I received an airbrush for Christmas, and let me tell you, I was extremely excited to use it. I had been thinking about getting one for months, but never got around to purchasing one. And it was a full kit of an airbrush and a compressor. Now it may not have been a top-of-the-line product. But for a beginner like myself, it was a perfect introduction to the world of possibilities this tool brings. And obviously, the failures that come along with it.
Painting the Enforcer
Once I got settled in with my new toy, I began the preparation of painting the tough brute that is Gorath the Enforcer. Throughout painting the miniature I realised one mistake I made, that I will look back at and think about the next time I build a model. And that is, perhaps sometimes it is better not to build the whole model at once, because even though it may be easier to paint everything in unison, some parts of the model make it difficult to reach crevices that would have been easy otherwise. However, with that in mind, I was ready to paint.


I began with priming the miniature using an airbrush and army painter white primer. However, as you can see, the result was not great. I do not know if it was the paint or my lack of skill with the airbrush, but the primer did not come out smooth and looked terrible. After this failure, I cleaned my airbrush and tried again, this time using Vallejo's black colour. And the result was a ton better than previously. After this, I was ready to start my most terrifying venture - non-metallic metal.


For the longest time, this specific skill in miniature painting scared me, because I could never understand it. Even now, after trying it, I have no idea if the steps I took were OK or if they were completely wrong. In any case, the steps I took were rather simple. I began by painting large portions of the armour with a nice dark shade and gradually adding brighter shades to smaller and smaller areas until eventually, I added some simple white to the edges of the armour pieces. The transitions did not end up looking the way I hoped for, so I once again took my airbrush and added some more green on top. And honestly, in my eyes, it looked rather well. It may not be perfect NMM, but for a first try by an amateur, it looks quite well.


I then moved on to the cape of the miniature. Having a bit more confidence using an airbrush, I used only the airbrush for this step. I tried to do simple blending with the airbrush, beginning with a darker tone and slowly working my way up with a brighter tone and smaller layers. It took me a few times, and at the beginning, I hated how it looked, but once complete, I was left satisfied with the results.


Once the main parts of the model were complete, I moved on to detailing the remaining, smaller parts. I added some silver shades to the cauldrons and the mace, while also adding some copper to the more intricate parts of the armour.


Finally, I finished off the model by painting the skin and the horns attached to the armour. I also painted the dagger on his hip. After all that, I added some more shading to the model to bring out those finer details, and Gorath was almost complete.


For the finishing touches, I highlighted the skin of this monster, as well as added a bit more detail to the face. I was afraid of messing up so I did not add too much except making his fangs and eyes a brighter colour to stand out. I also added some more details to the dagger and painted up the base.
Final Result
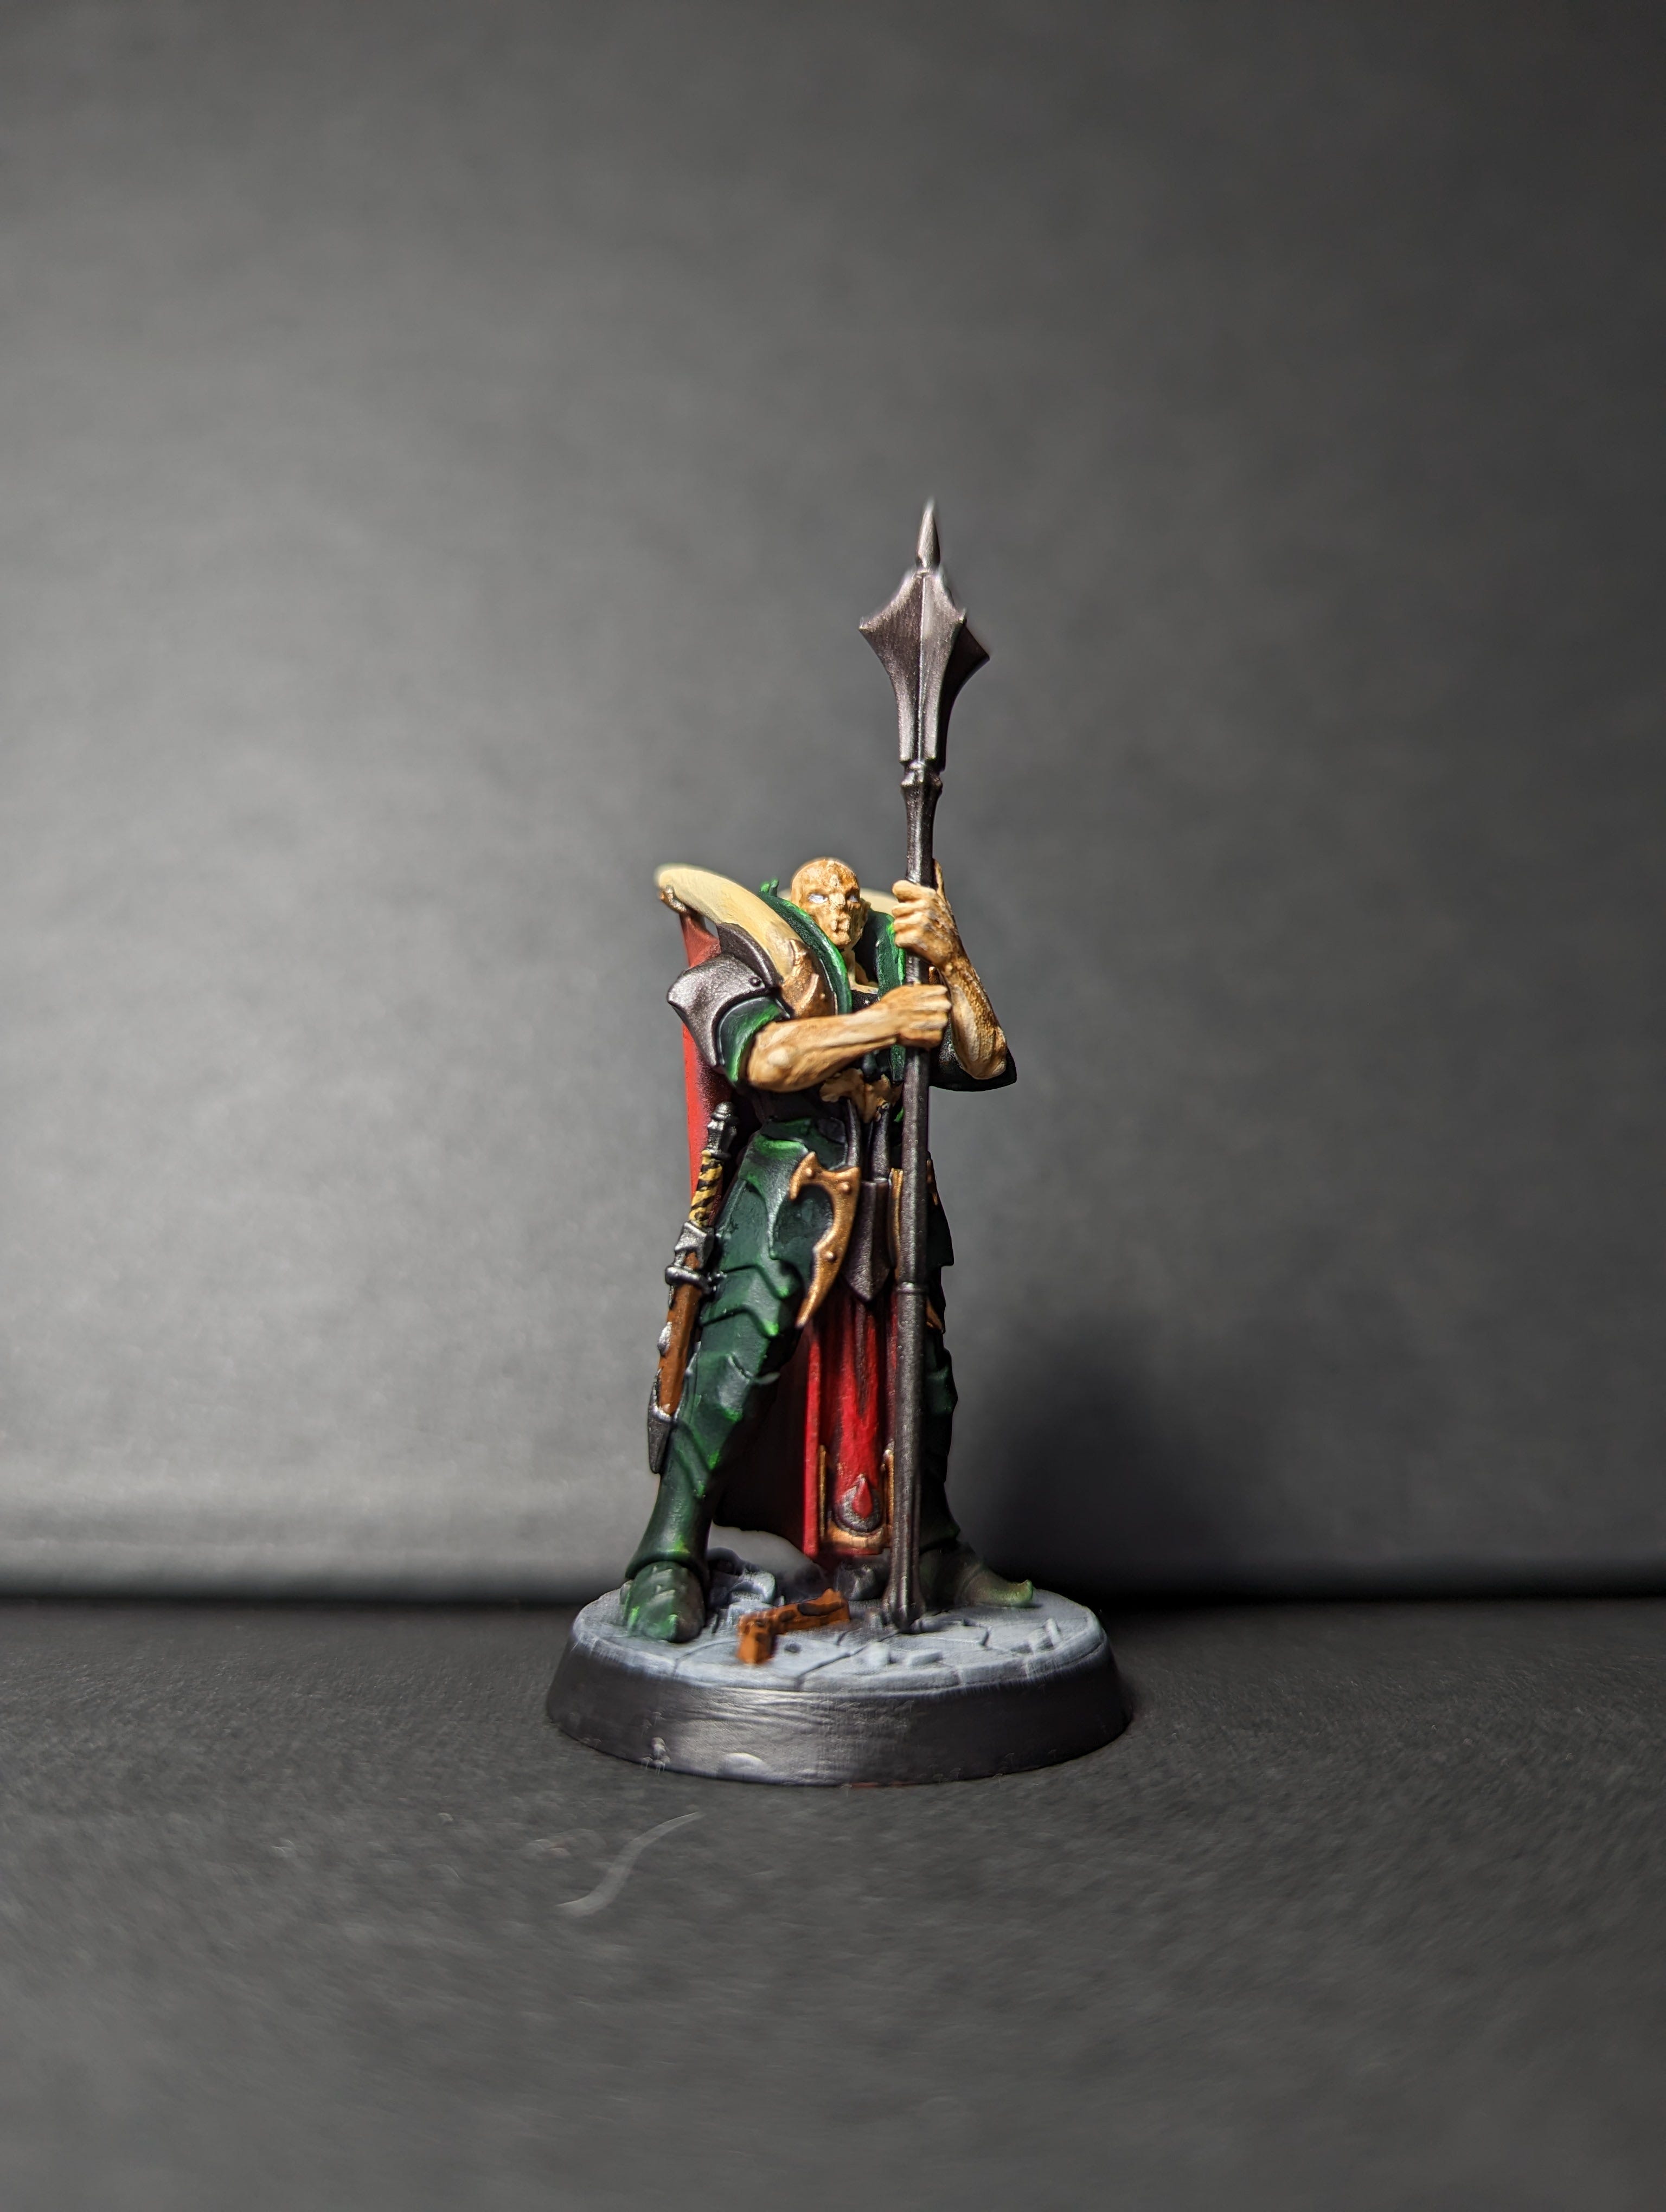

All in all, I am extremely happy with how this model turned out, and even though I still have a long way to go as a painter, I can already see considerable improvement from where I was a year ago.